TRAIN.RED 2.0 APP MANUAL
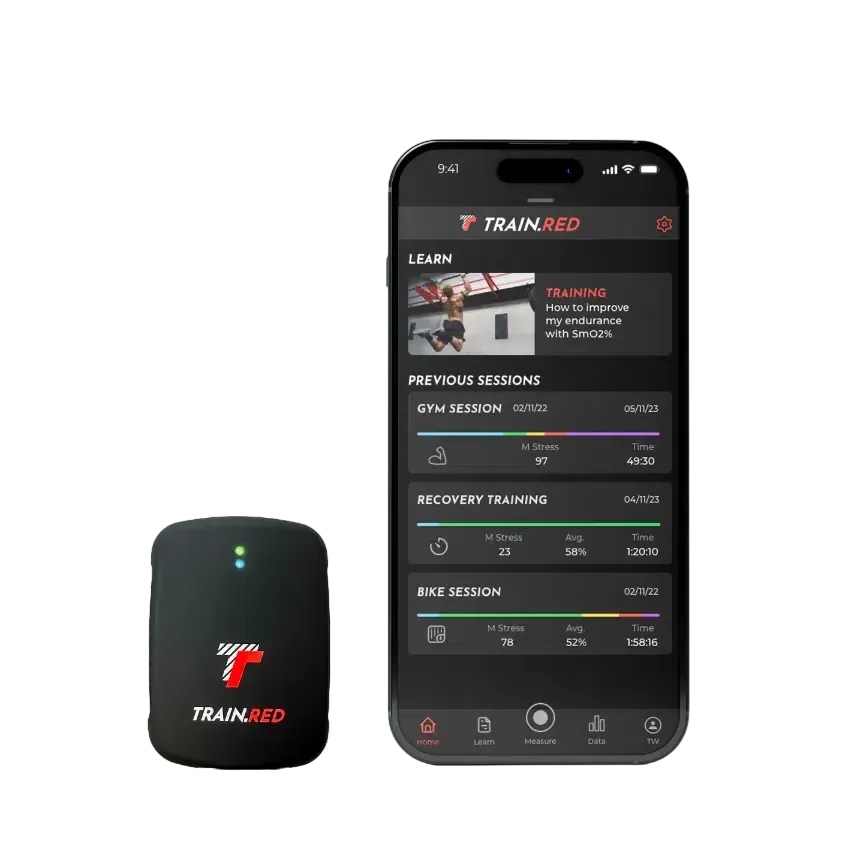
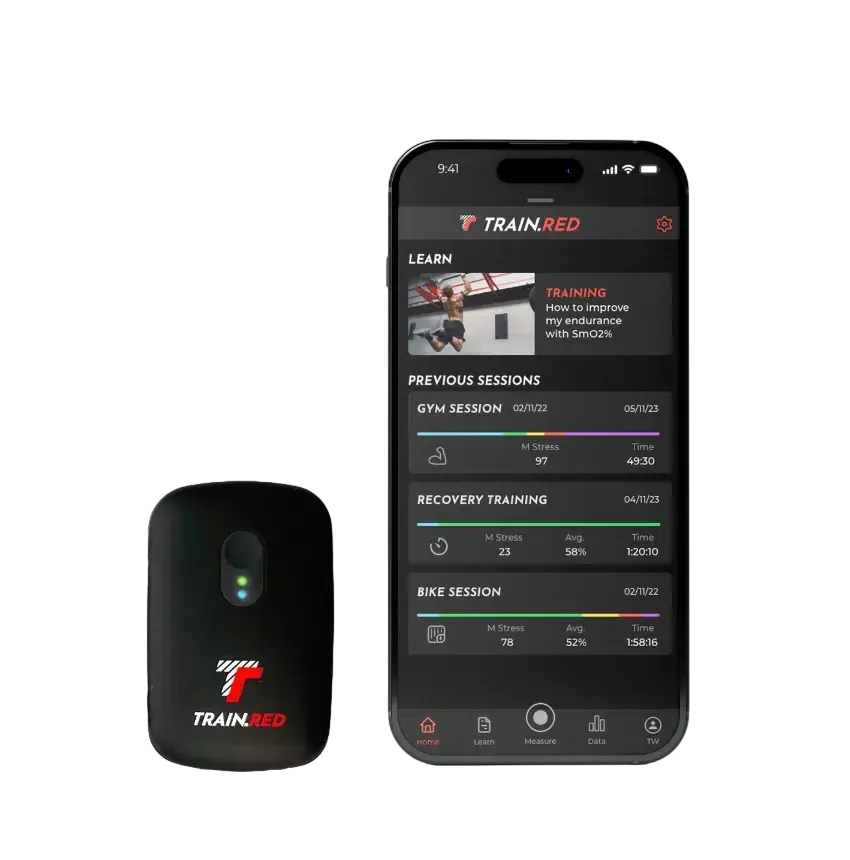
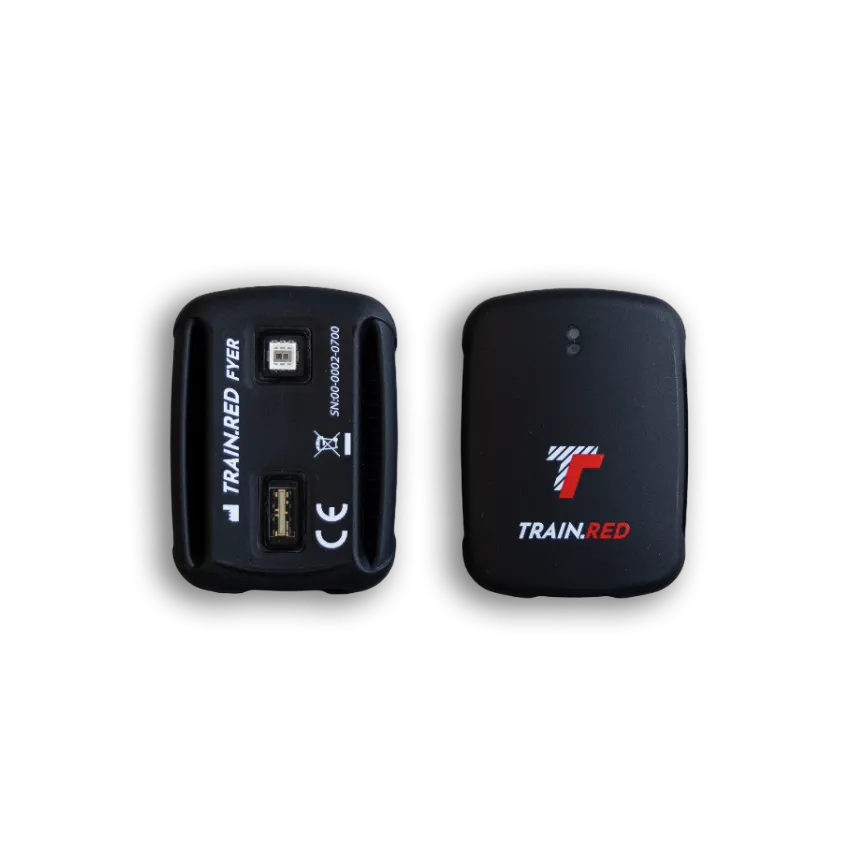
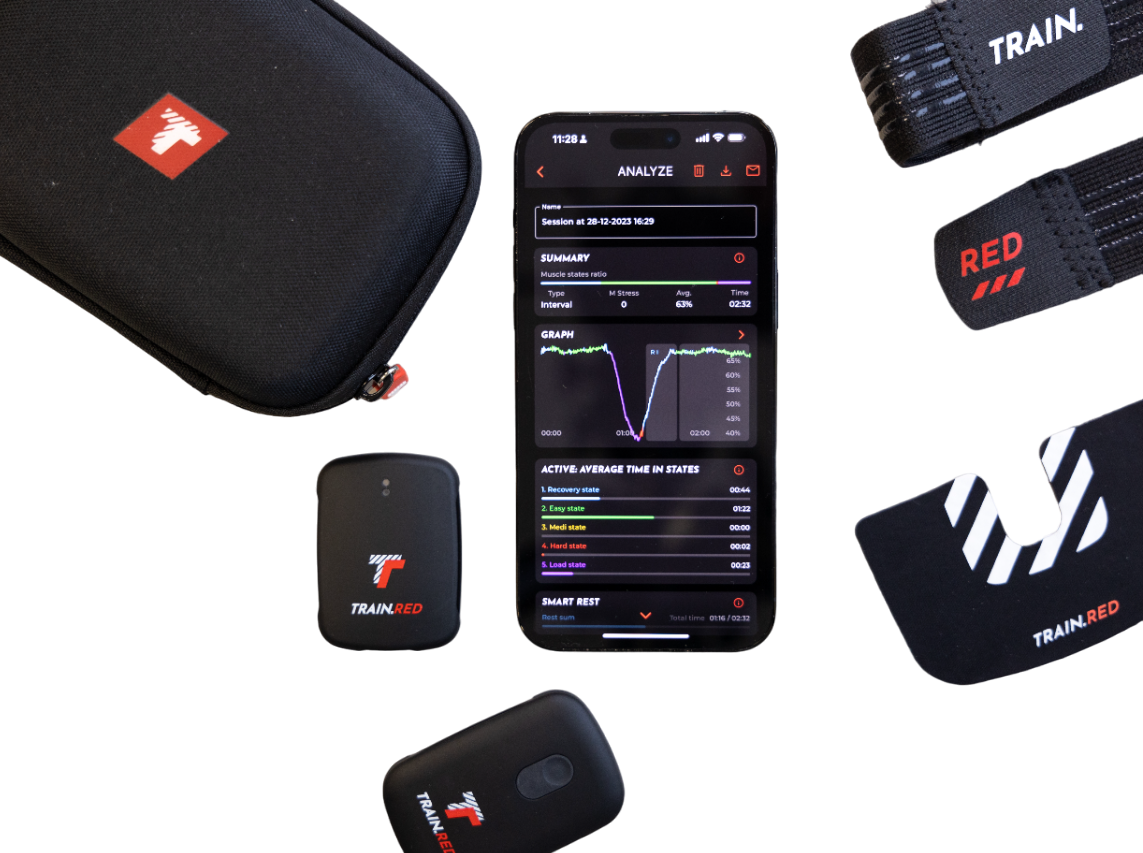
Combine your Muscle Oxygen Sensor and Train.Red app to get optimal results.
With the Train.Red app you can:
- Connect up to 4 Muscle Oxygen Sensors
- View live data from your training
- View live features to help you improve
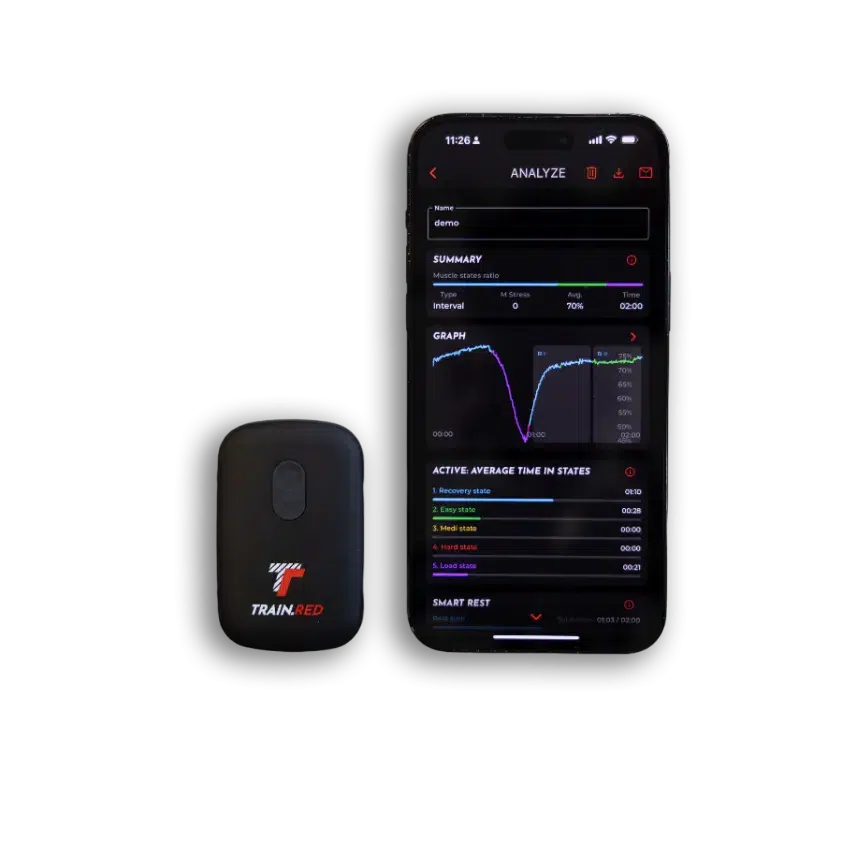
- Analyze and export your data
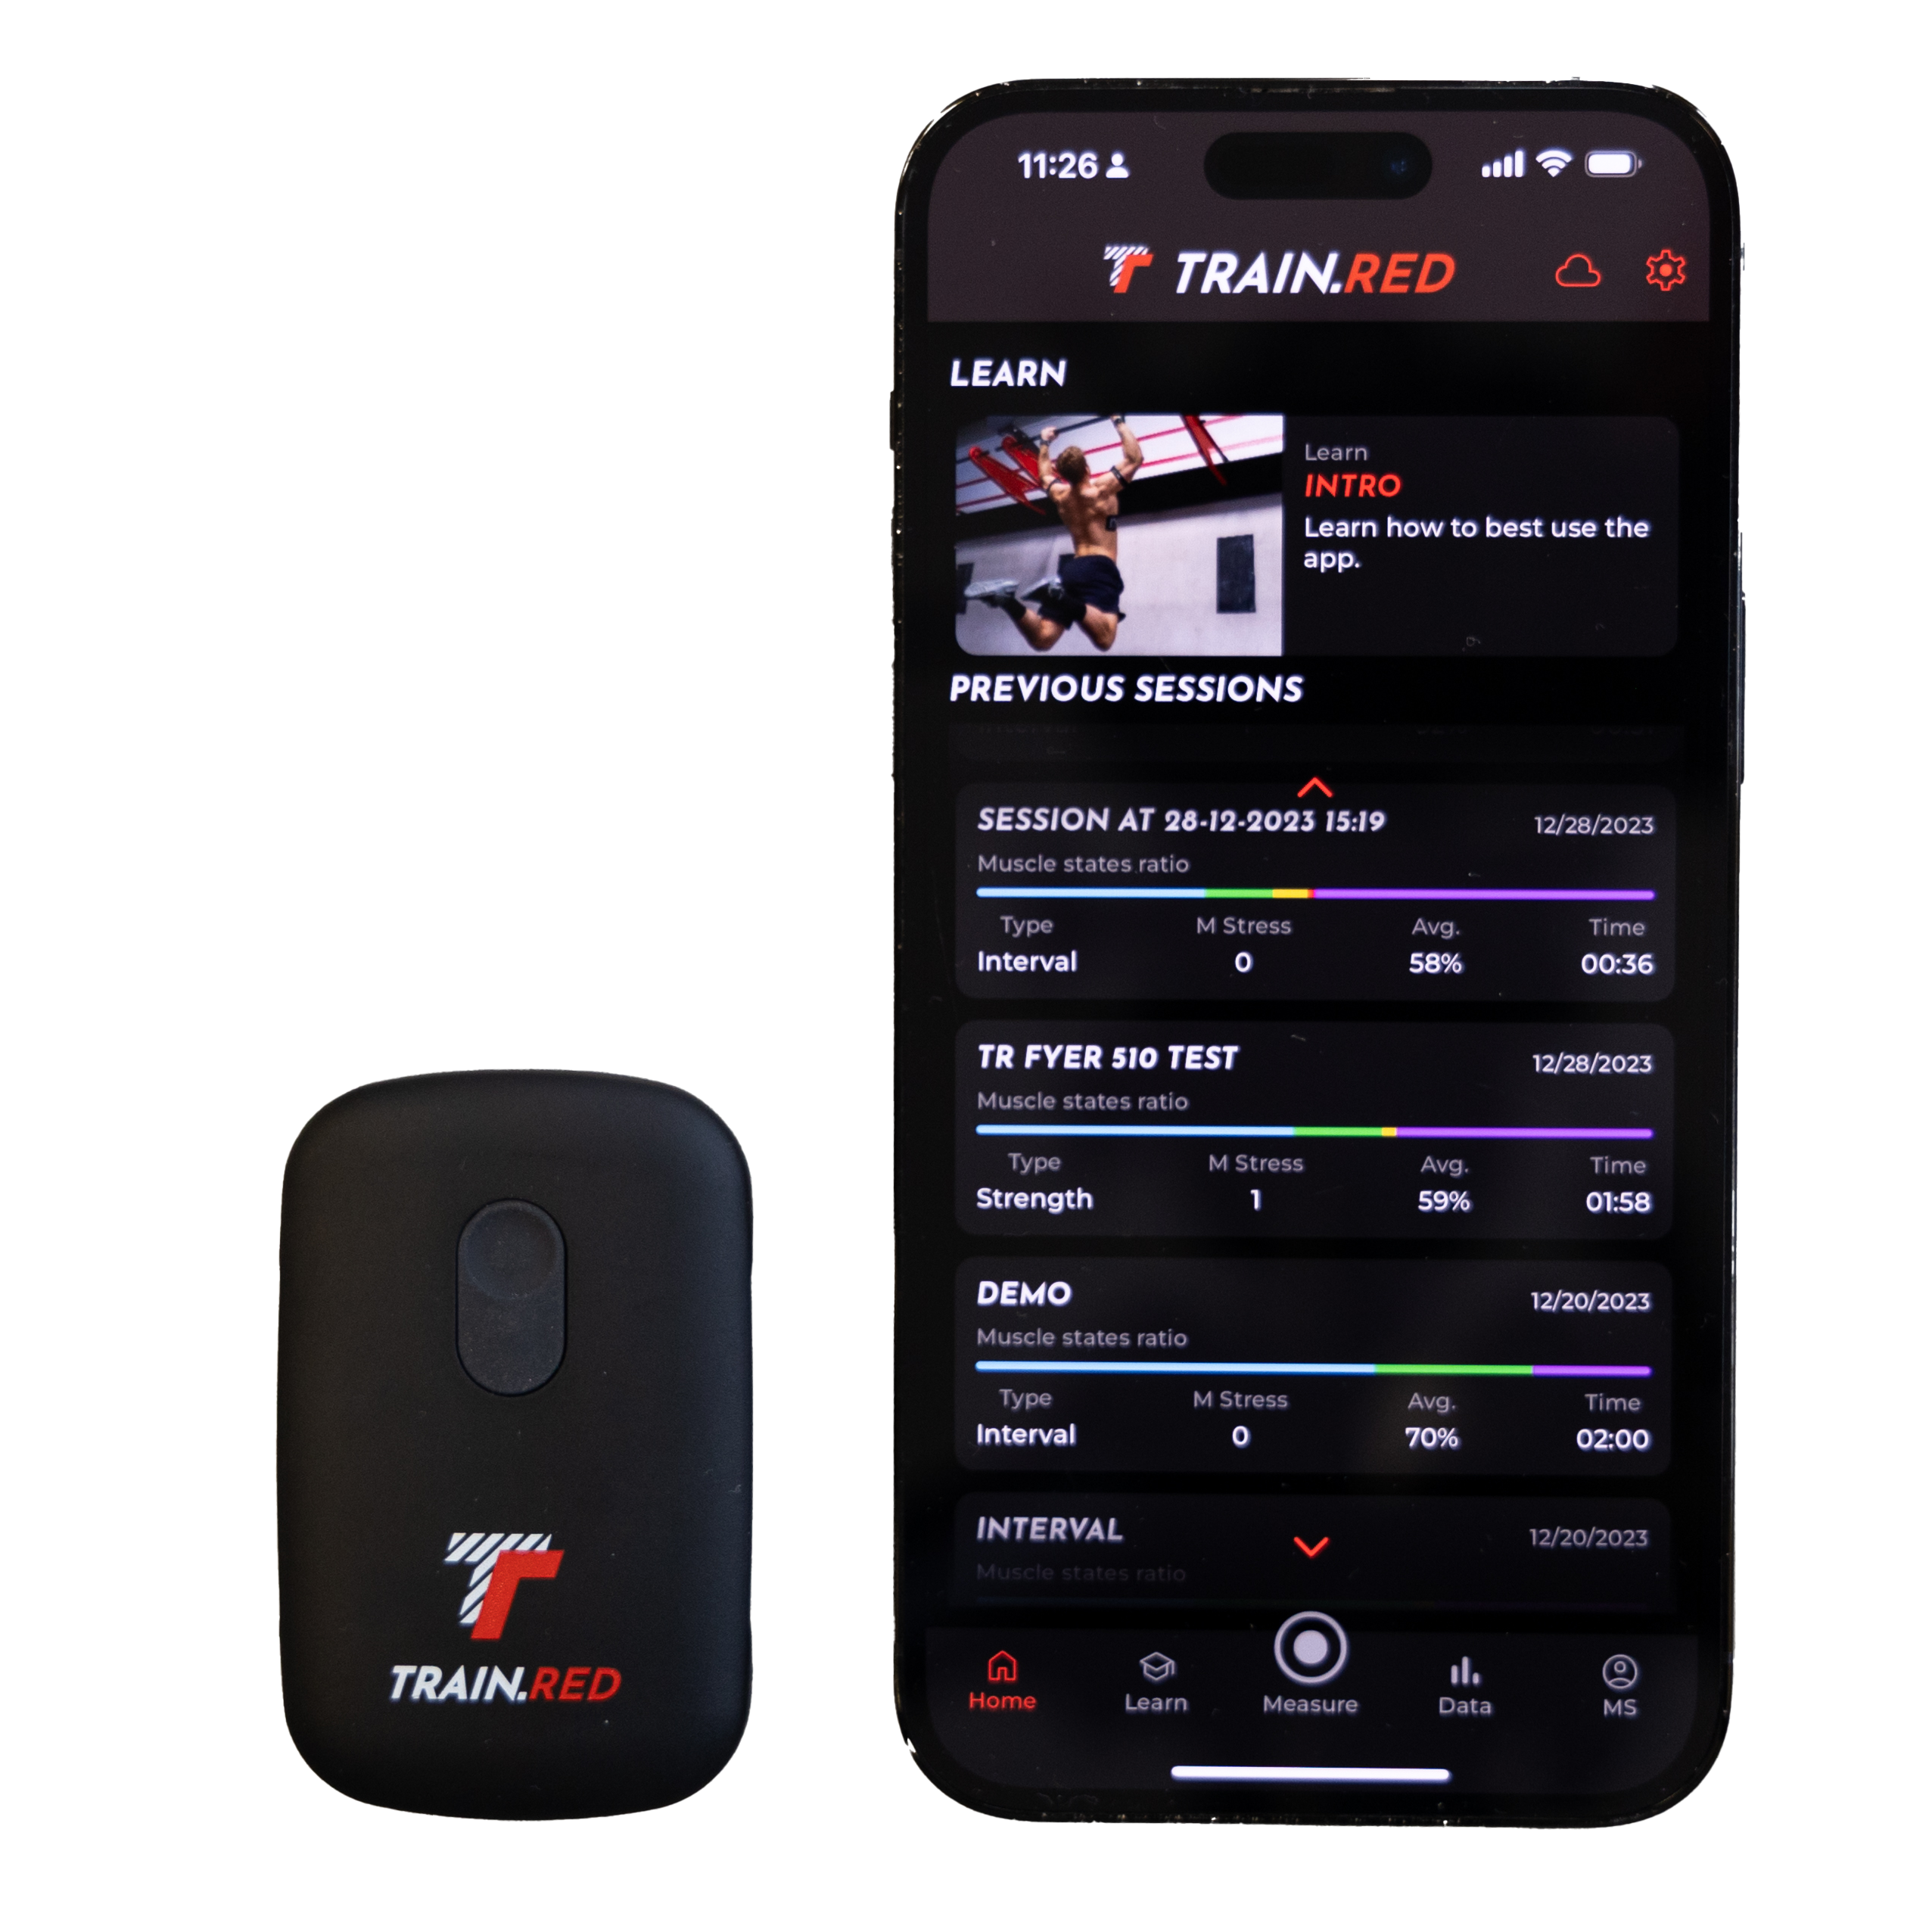
GET THE TRAIN.RED APP
1. The app can be downloaded from the link below. Make sure you have a phone with at least Android 6.0 or iOS 11 or later, and more than 200 Mb of storage
2. Turn Bluetooth on
3. When installed, open the Train.red app on your phone
4. Allow access location when using the app
Train.Red App Manual
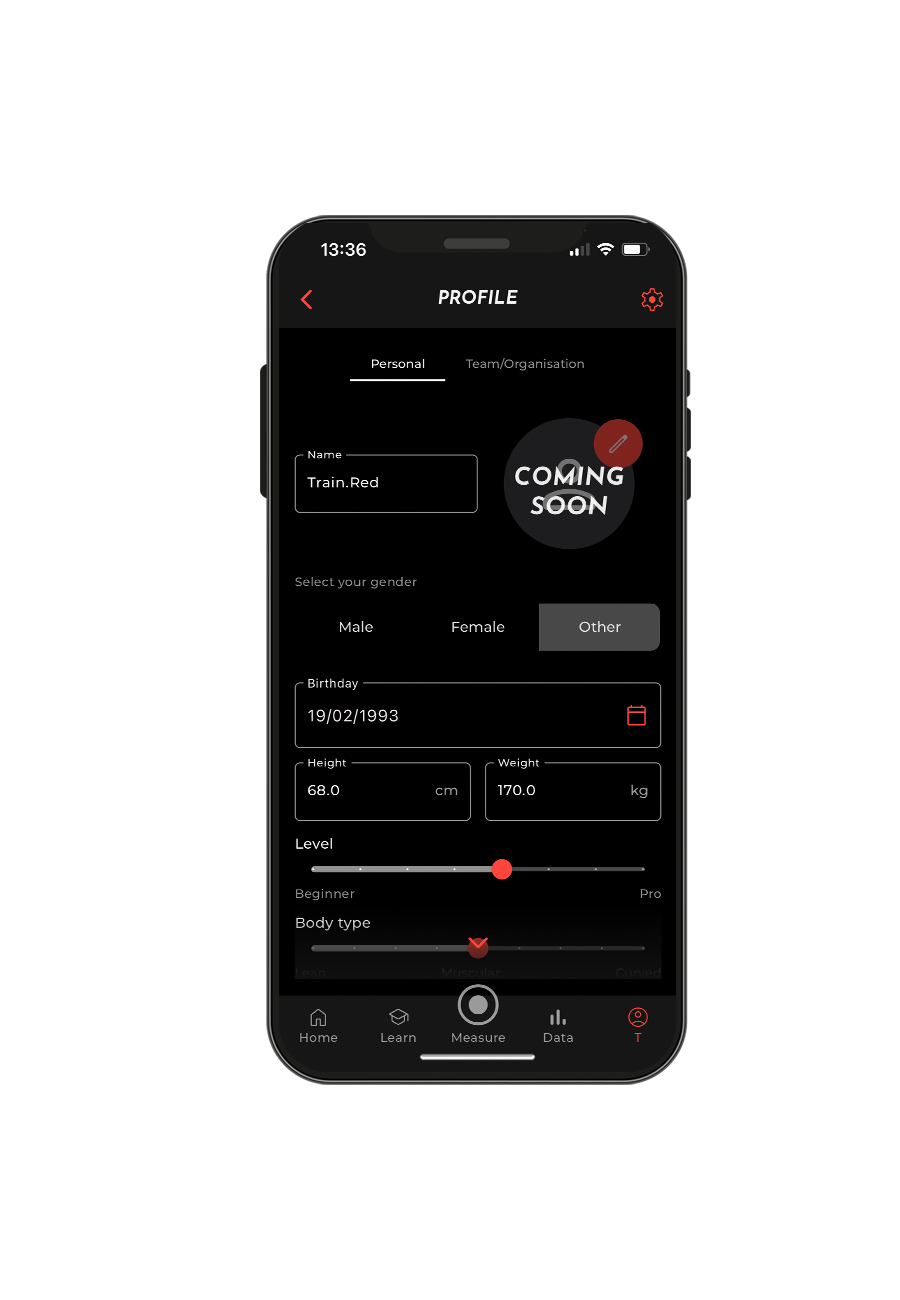
1. Click on the profile icon, located at the upper left of your screen
2. Fill in and complete your personal profile
3. Save changes (you can edit your profile anytime)
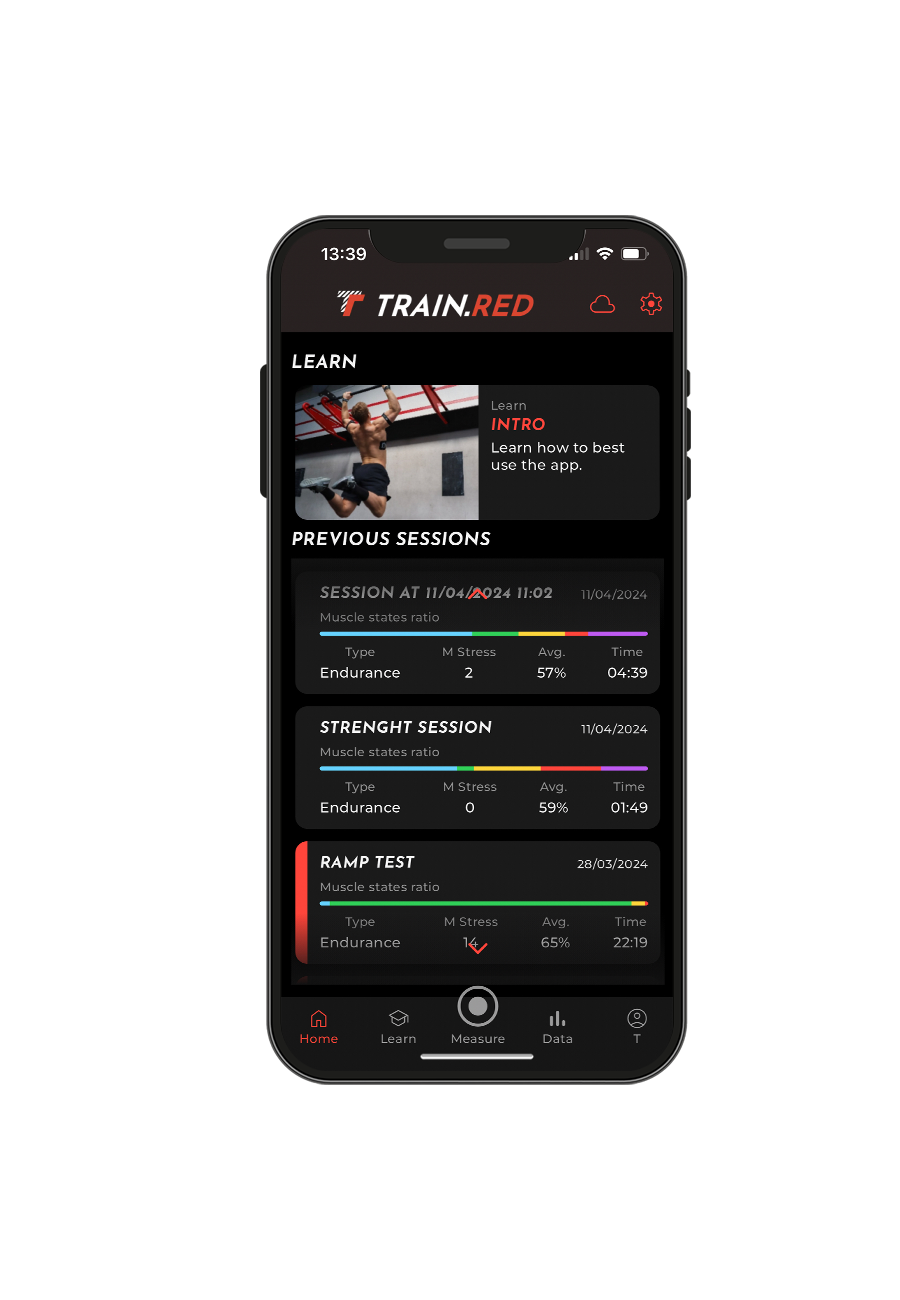
1. Go to the dashboard
2. In the taskbar choose 'LEARN'
3. Scroll down to see every post
4. You can educate yourself about how to train with muscle oxygen
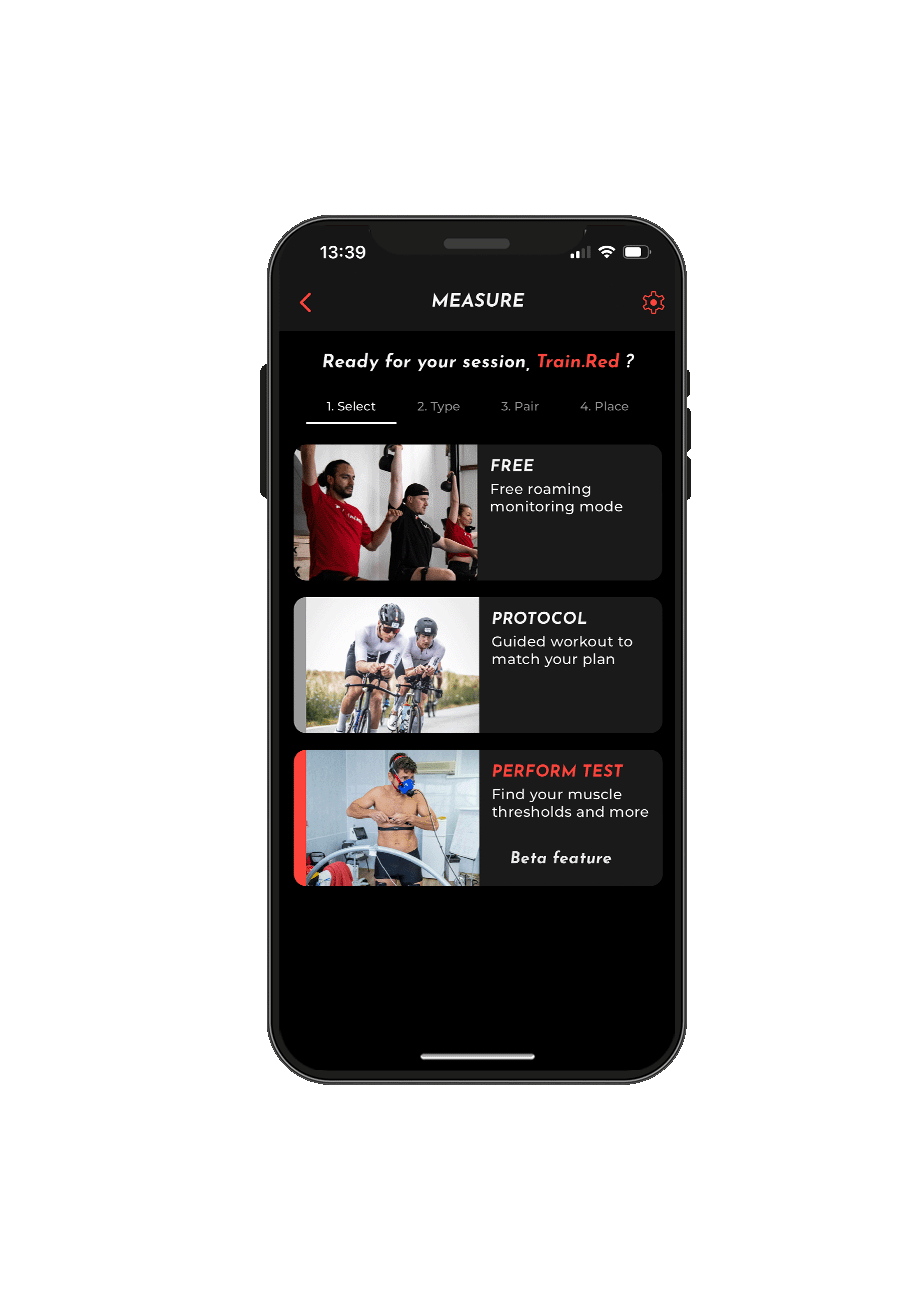
1. On the dashboard choose 'MEASURE'
2. Select what type of session you want to do
3. Choose what kind of sport and type of training
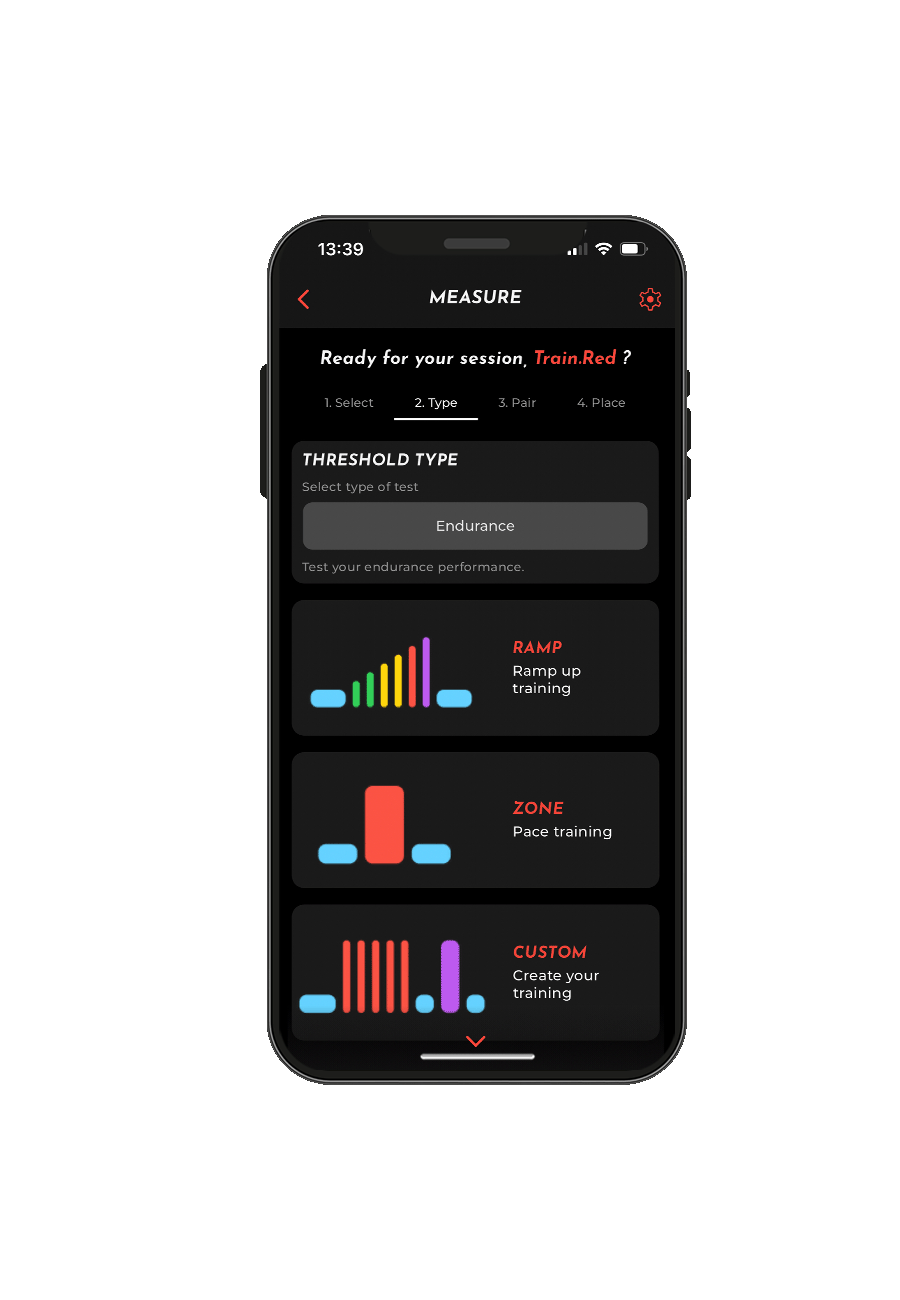
1. Choose what kind of training you would like to do or customize is
2. Add steps or intervals, define interval and intensity durations
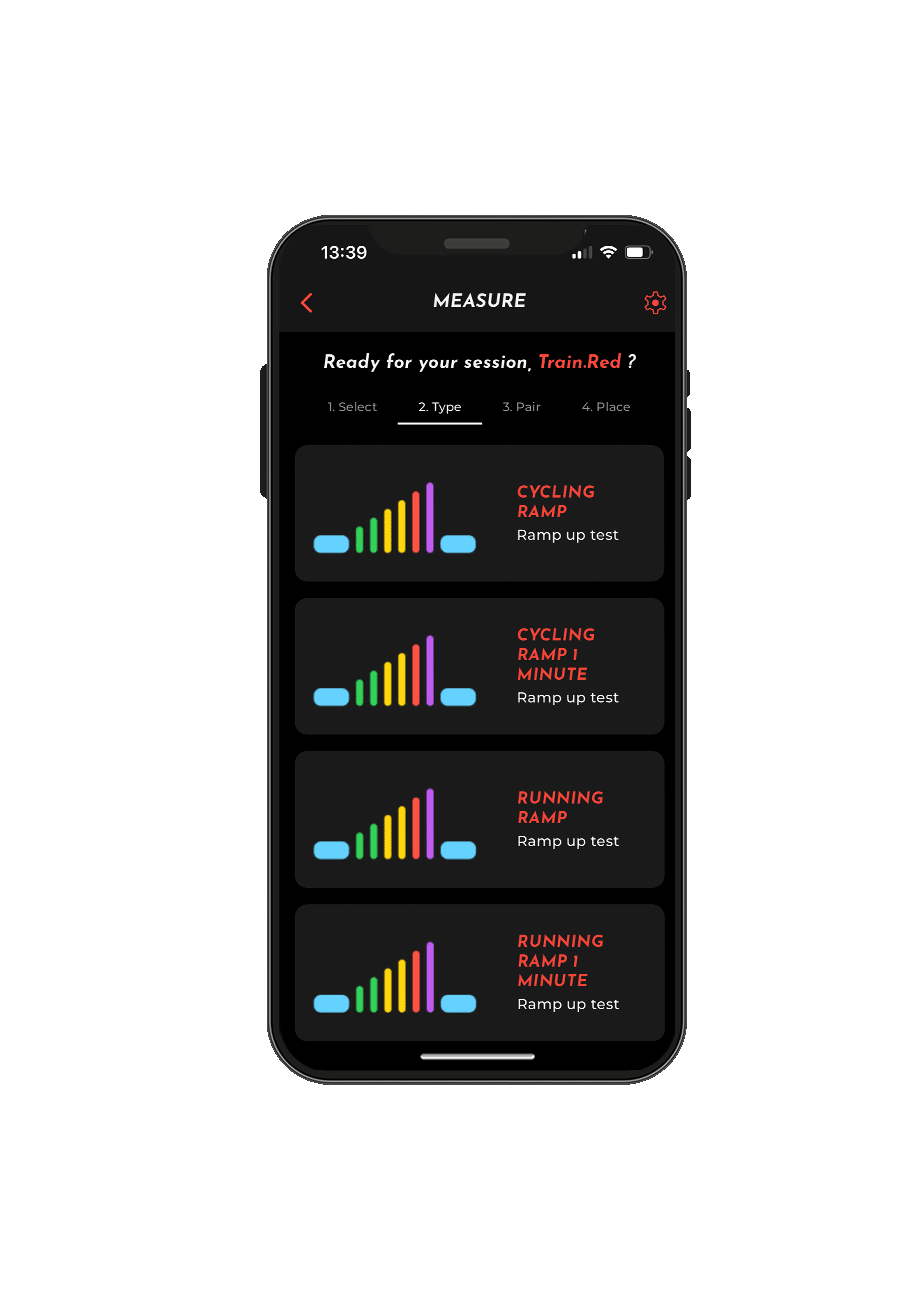
1. Choose a test
2. Read the protocol and the goal of the test
3. Start the test
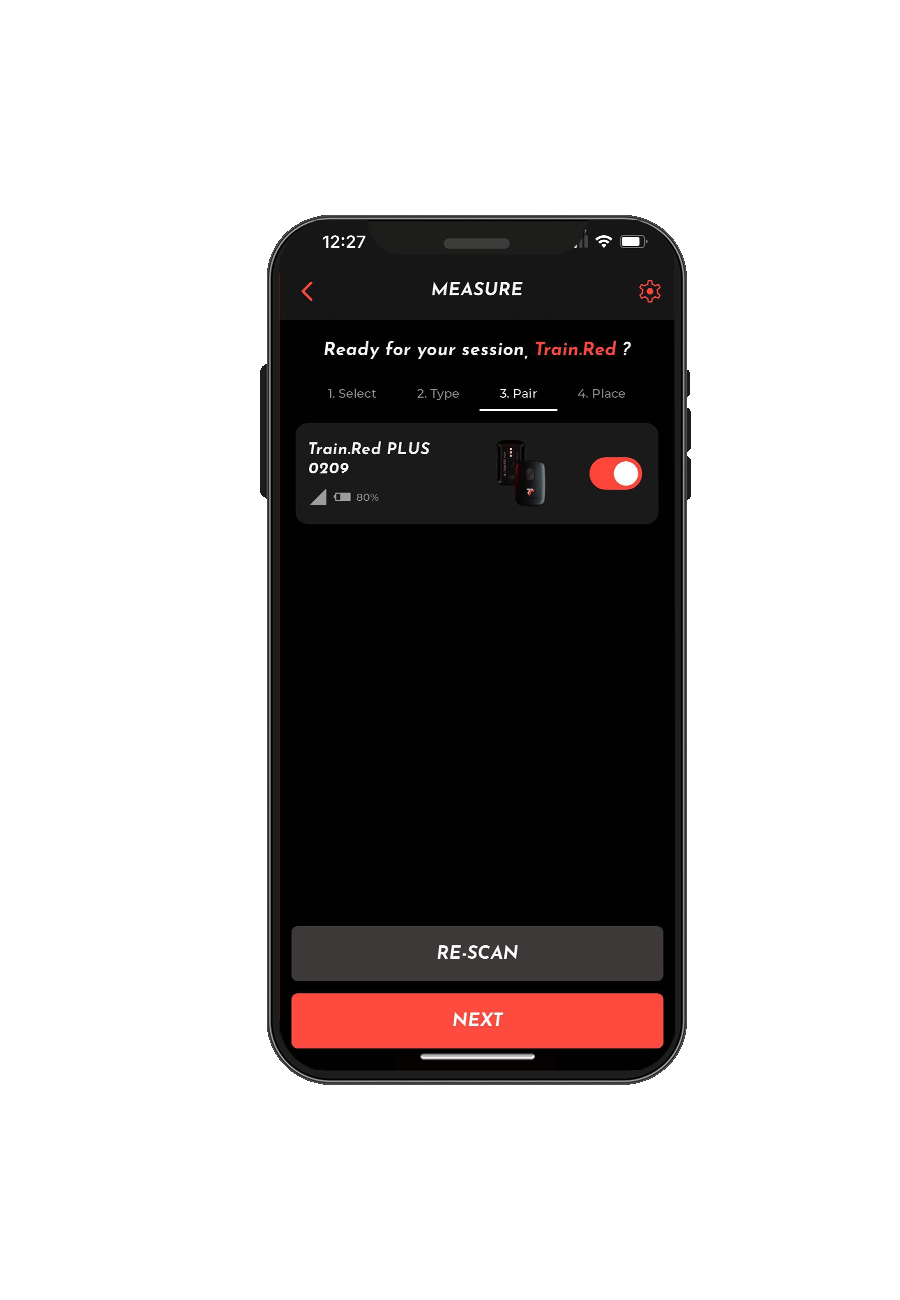
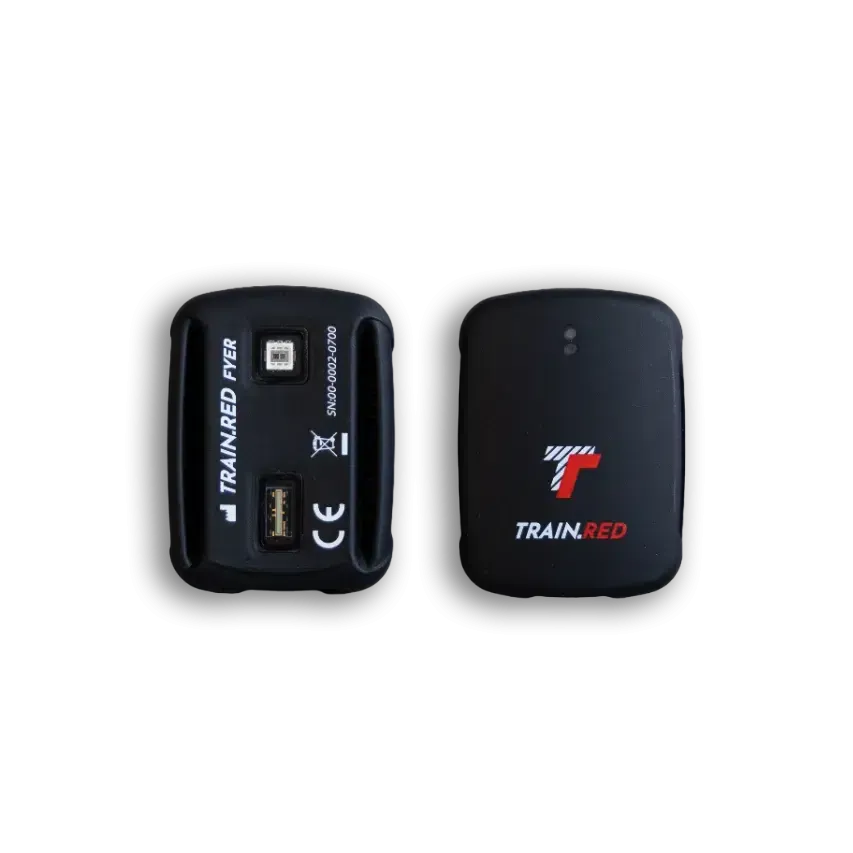
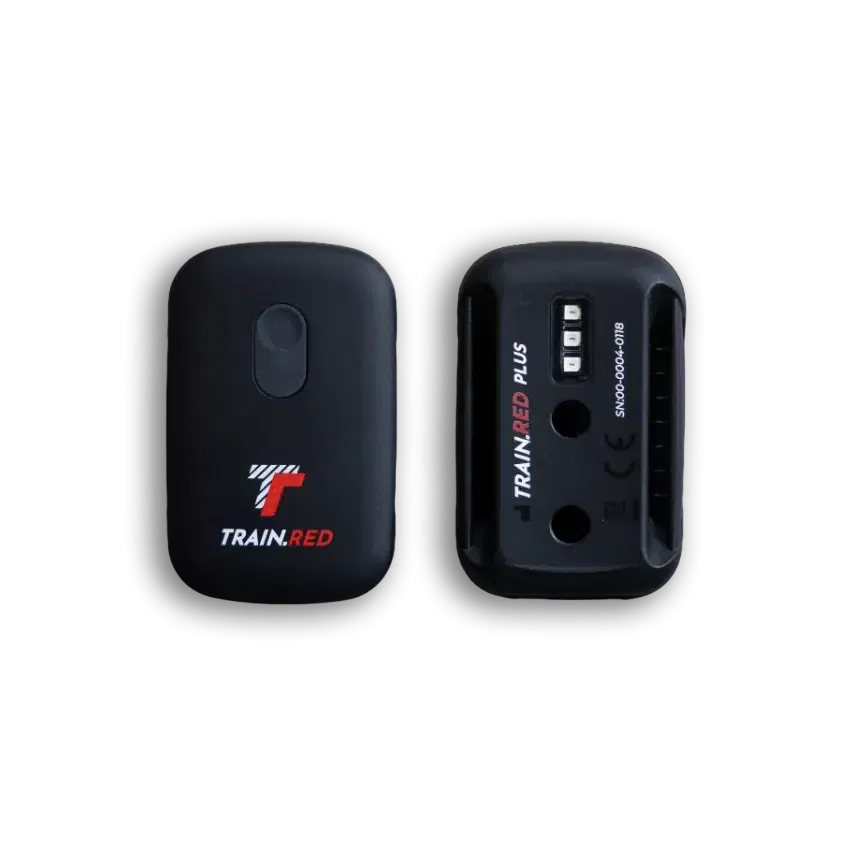
1. Place the Train.Red Sensor on the muscle(s) you desire, depending on the type of training and exercise you are executing
2.Pair with the sensor(s) you which to use
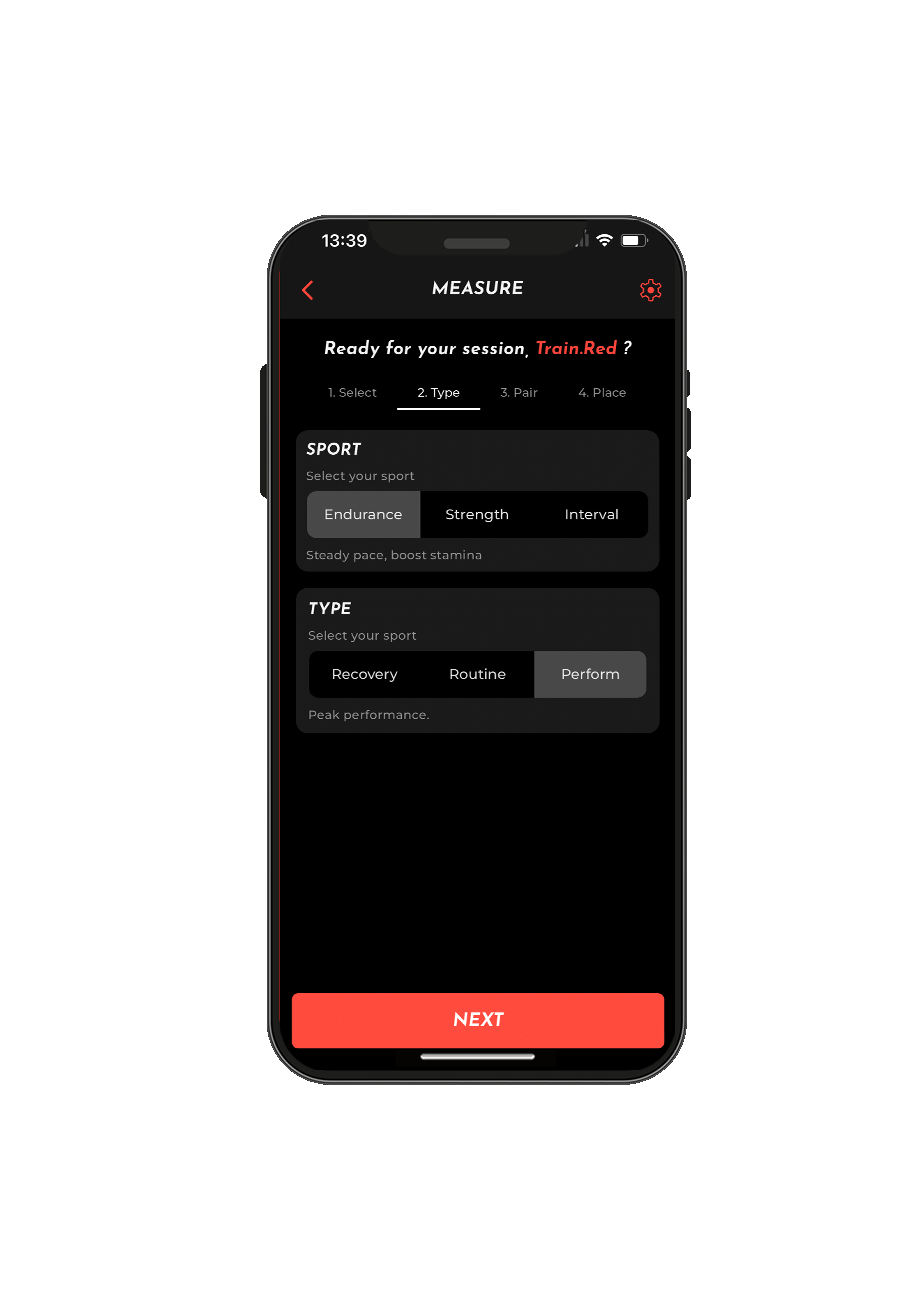
1. Place the sensors in the right location in the body and in the app
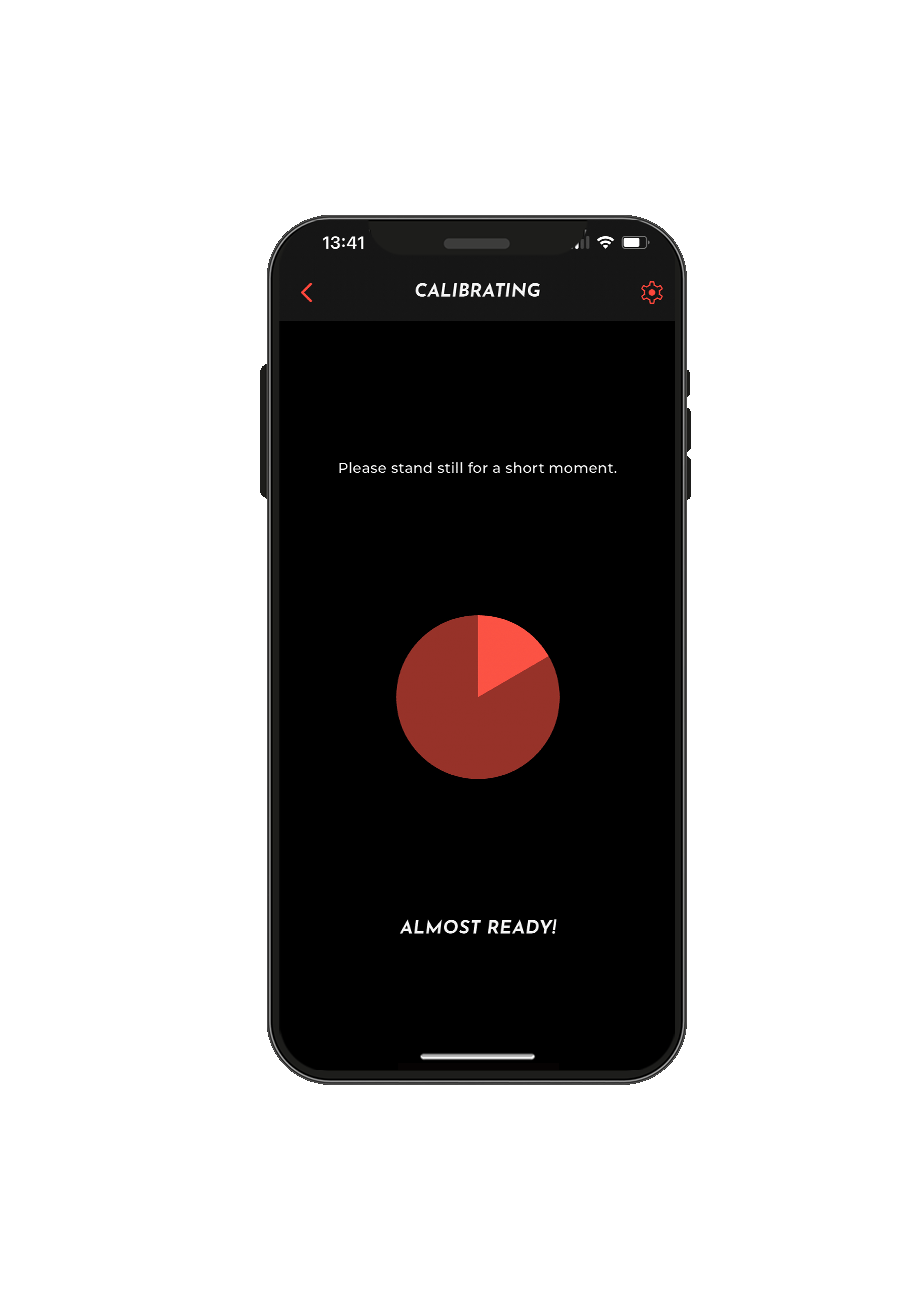
1. When you see the calibration screen, please try not to move
2. Wait for the calibration to finish, to ensure the most accurate data
3. Now it's time to start your training
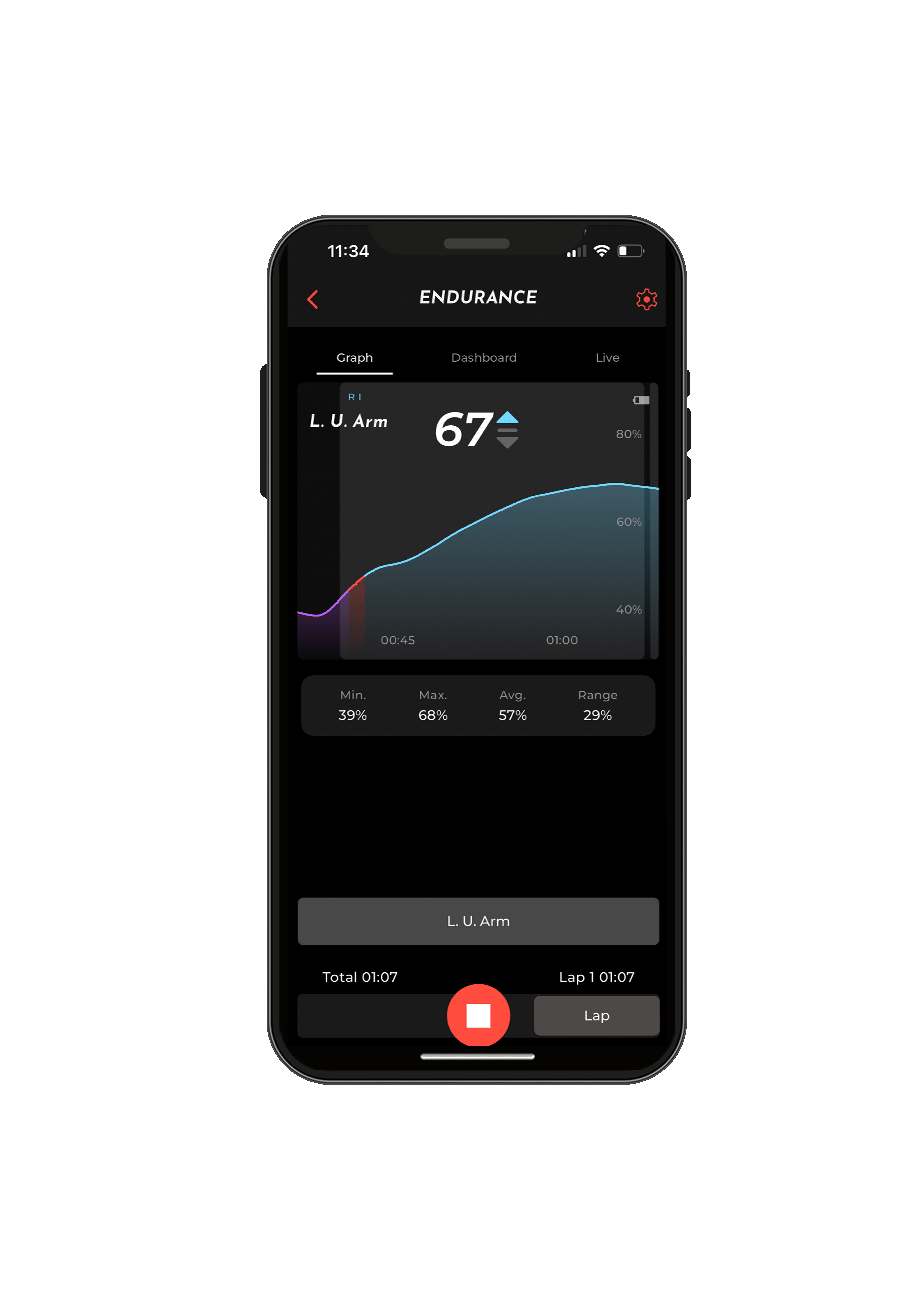
1. Check the graph for muscle oxygen insights
2. Go to settings on the top right of the screen and choose which option you would like to display, 'Muscle States' or 'Muscle Trend'
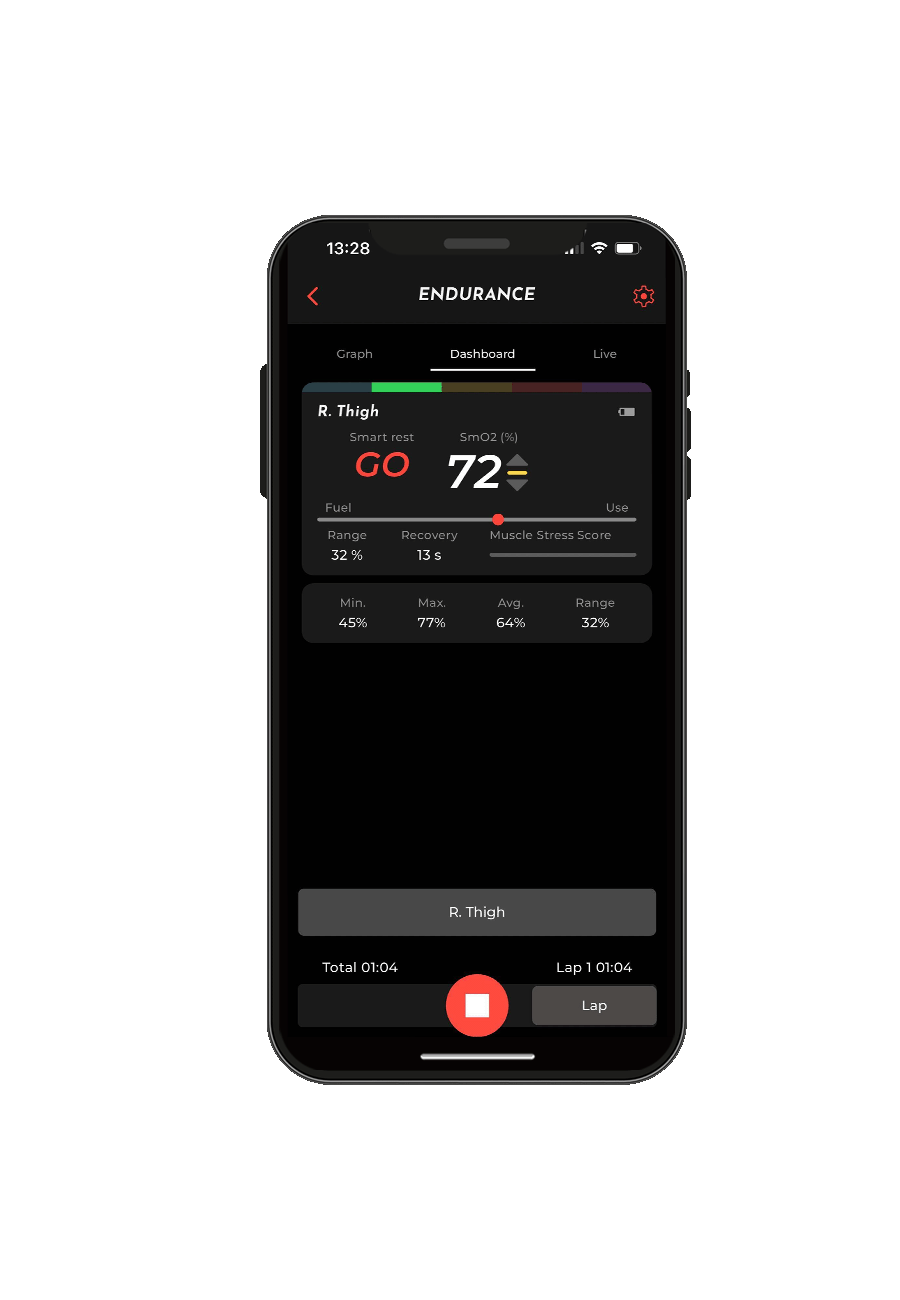
1. Go to the dashboard to have an overview of all the features and variables displayed live
2. Follow the instructions during a test. Know when to start, to level up and when to finish
3. Use the 'LIVE' option to share your training on the socials.
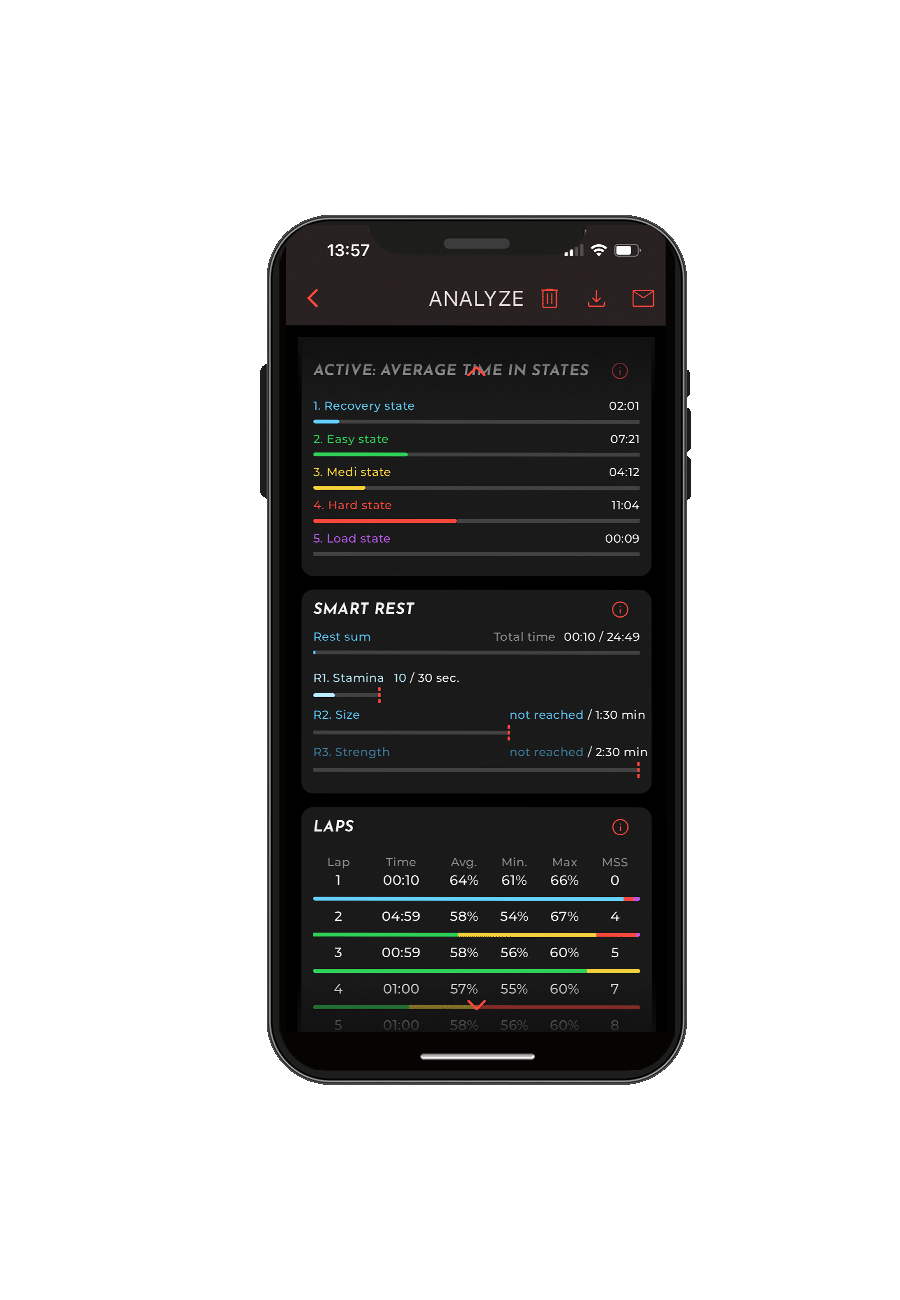
1. Press the stop bottom and save the session
2. Check the overview of the hole training, each lap, and the rest
3. Click on the graph to see an overview of all the variables
1. Click on the profile icon, located at the upper left of your screen
2. Fill in and complete your personal profile
3. Save changes (you can edit your profile anytime)
1. Go to the dashboard
2. In the taskbar choose 'LEARN'
3. Scroll down to see every post
4. You can educate yourself about how to train with muscle oxygen
1. On the dashboard choose 'MEASURE'
2. Select what type of session you want to do
3. Choose what kind of sport and type of training
1. Choose what kind of training you would like to do or customize is
2. Add steps or intervals, define interval and intensity durations
1. Choose a test
2. Read the protocol and the goal of the test
3. Start the test
1. Place the Train.Red Sensor on the muscle(s) you desire, depending on the type of training and exercise you are executing
2.Pair with the sensor(s) you which to use
1. Place the sensors in the right location in the body and in the app
1. When you see the calibration screen, please try not to move
2. Wait for the calibration to finish, to ensure the most accurate data
3. Now it's time to start your training
1. Check the graph for muscle oxygen insights
2. Go to settings on the top right of the screen and choose which option you would like to display, 'Muscle States' or 'Muscle Trend'
1. Go to the dashboard to have an overview of all the features and variables displayed live
2. Follow the instructions during a test. Know when to start, to level up and when to finish
3. Use the 'LIVE' option to share your training on the socials.
1. Press the stop bottom and save the session
2. Check the overview of the hole training, each lap, and the rest
3. Click on the graph to see an overview of all the variables


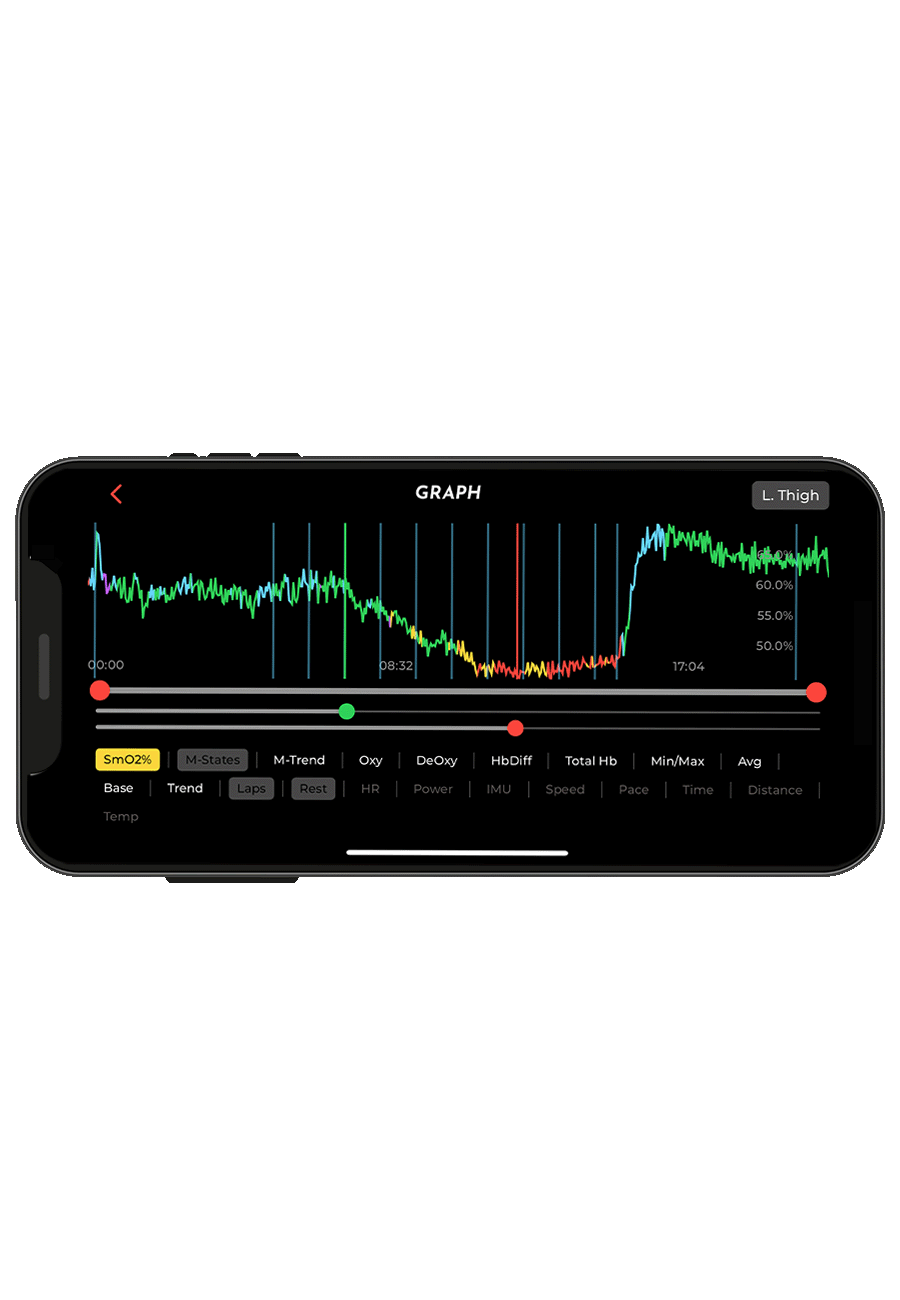
12. save and analyze data
4. Explore the different data by pressing on the desired variables
5. Use the bar under the graph to zoom specific moments of the session
6. Use this data to improve your performace
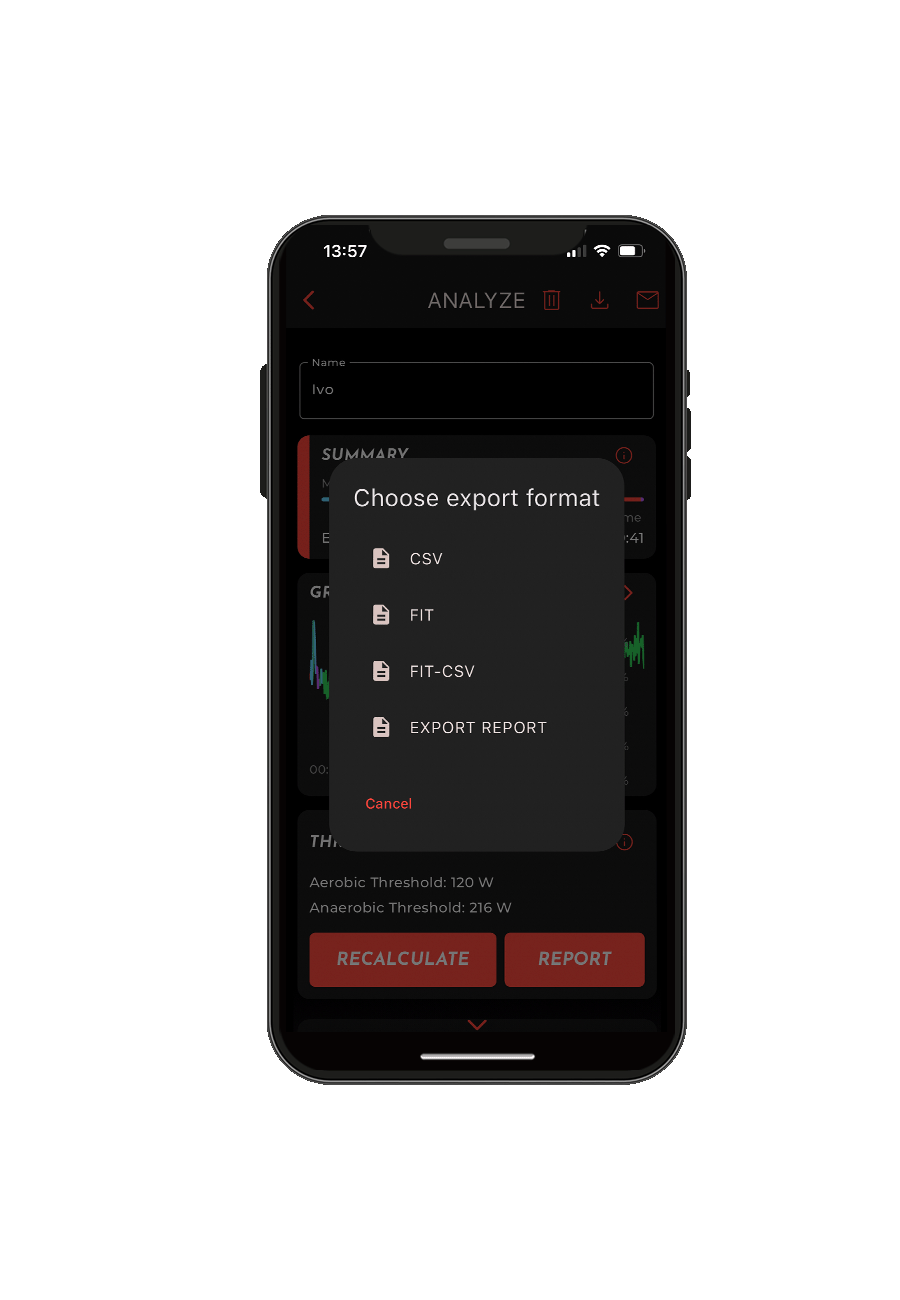
13. export data
1. After finishing the session, click on the right upper bottom of the screen to export the data
2. Data can be exported via CSC or FIT files

