TRAIN.RED PLUS START GUIDE
Discover the Power of Data with our Revolutionary Muscle Oxygen Sensor.
1 - UNBOXING
Your package contains the following items:
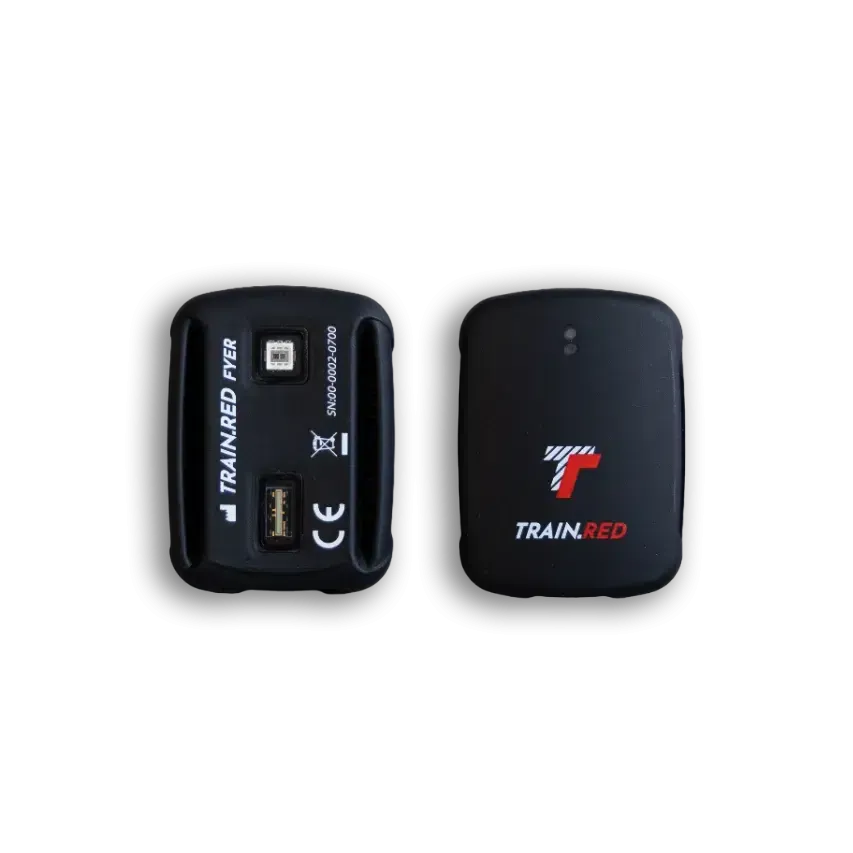
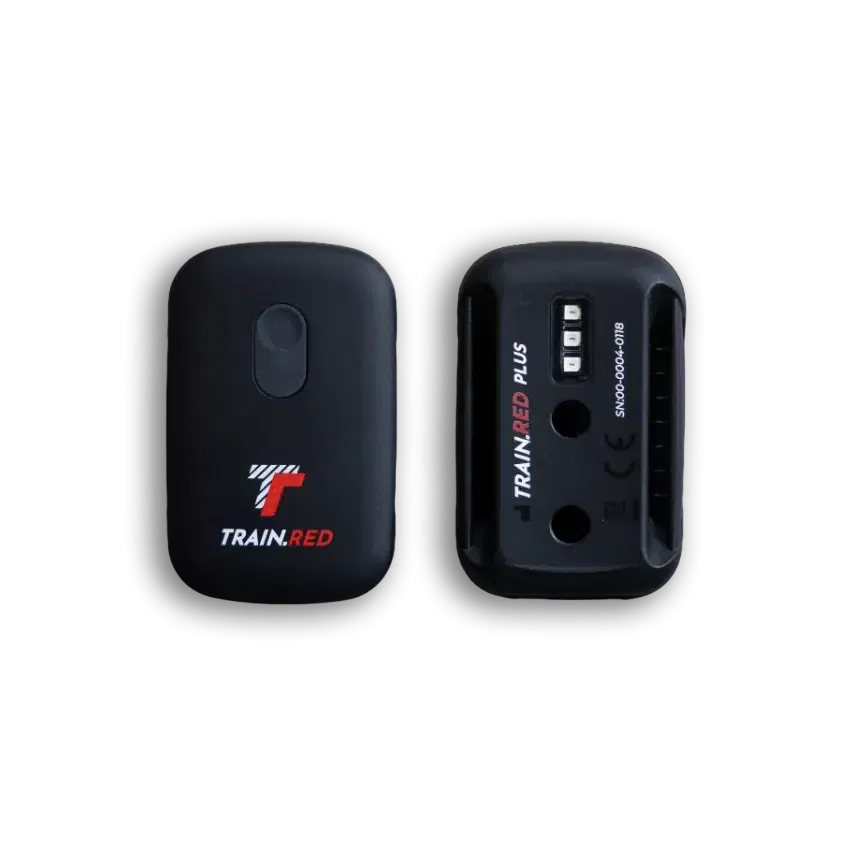
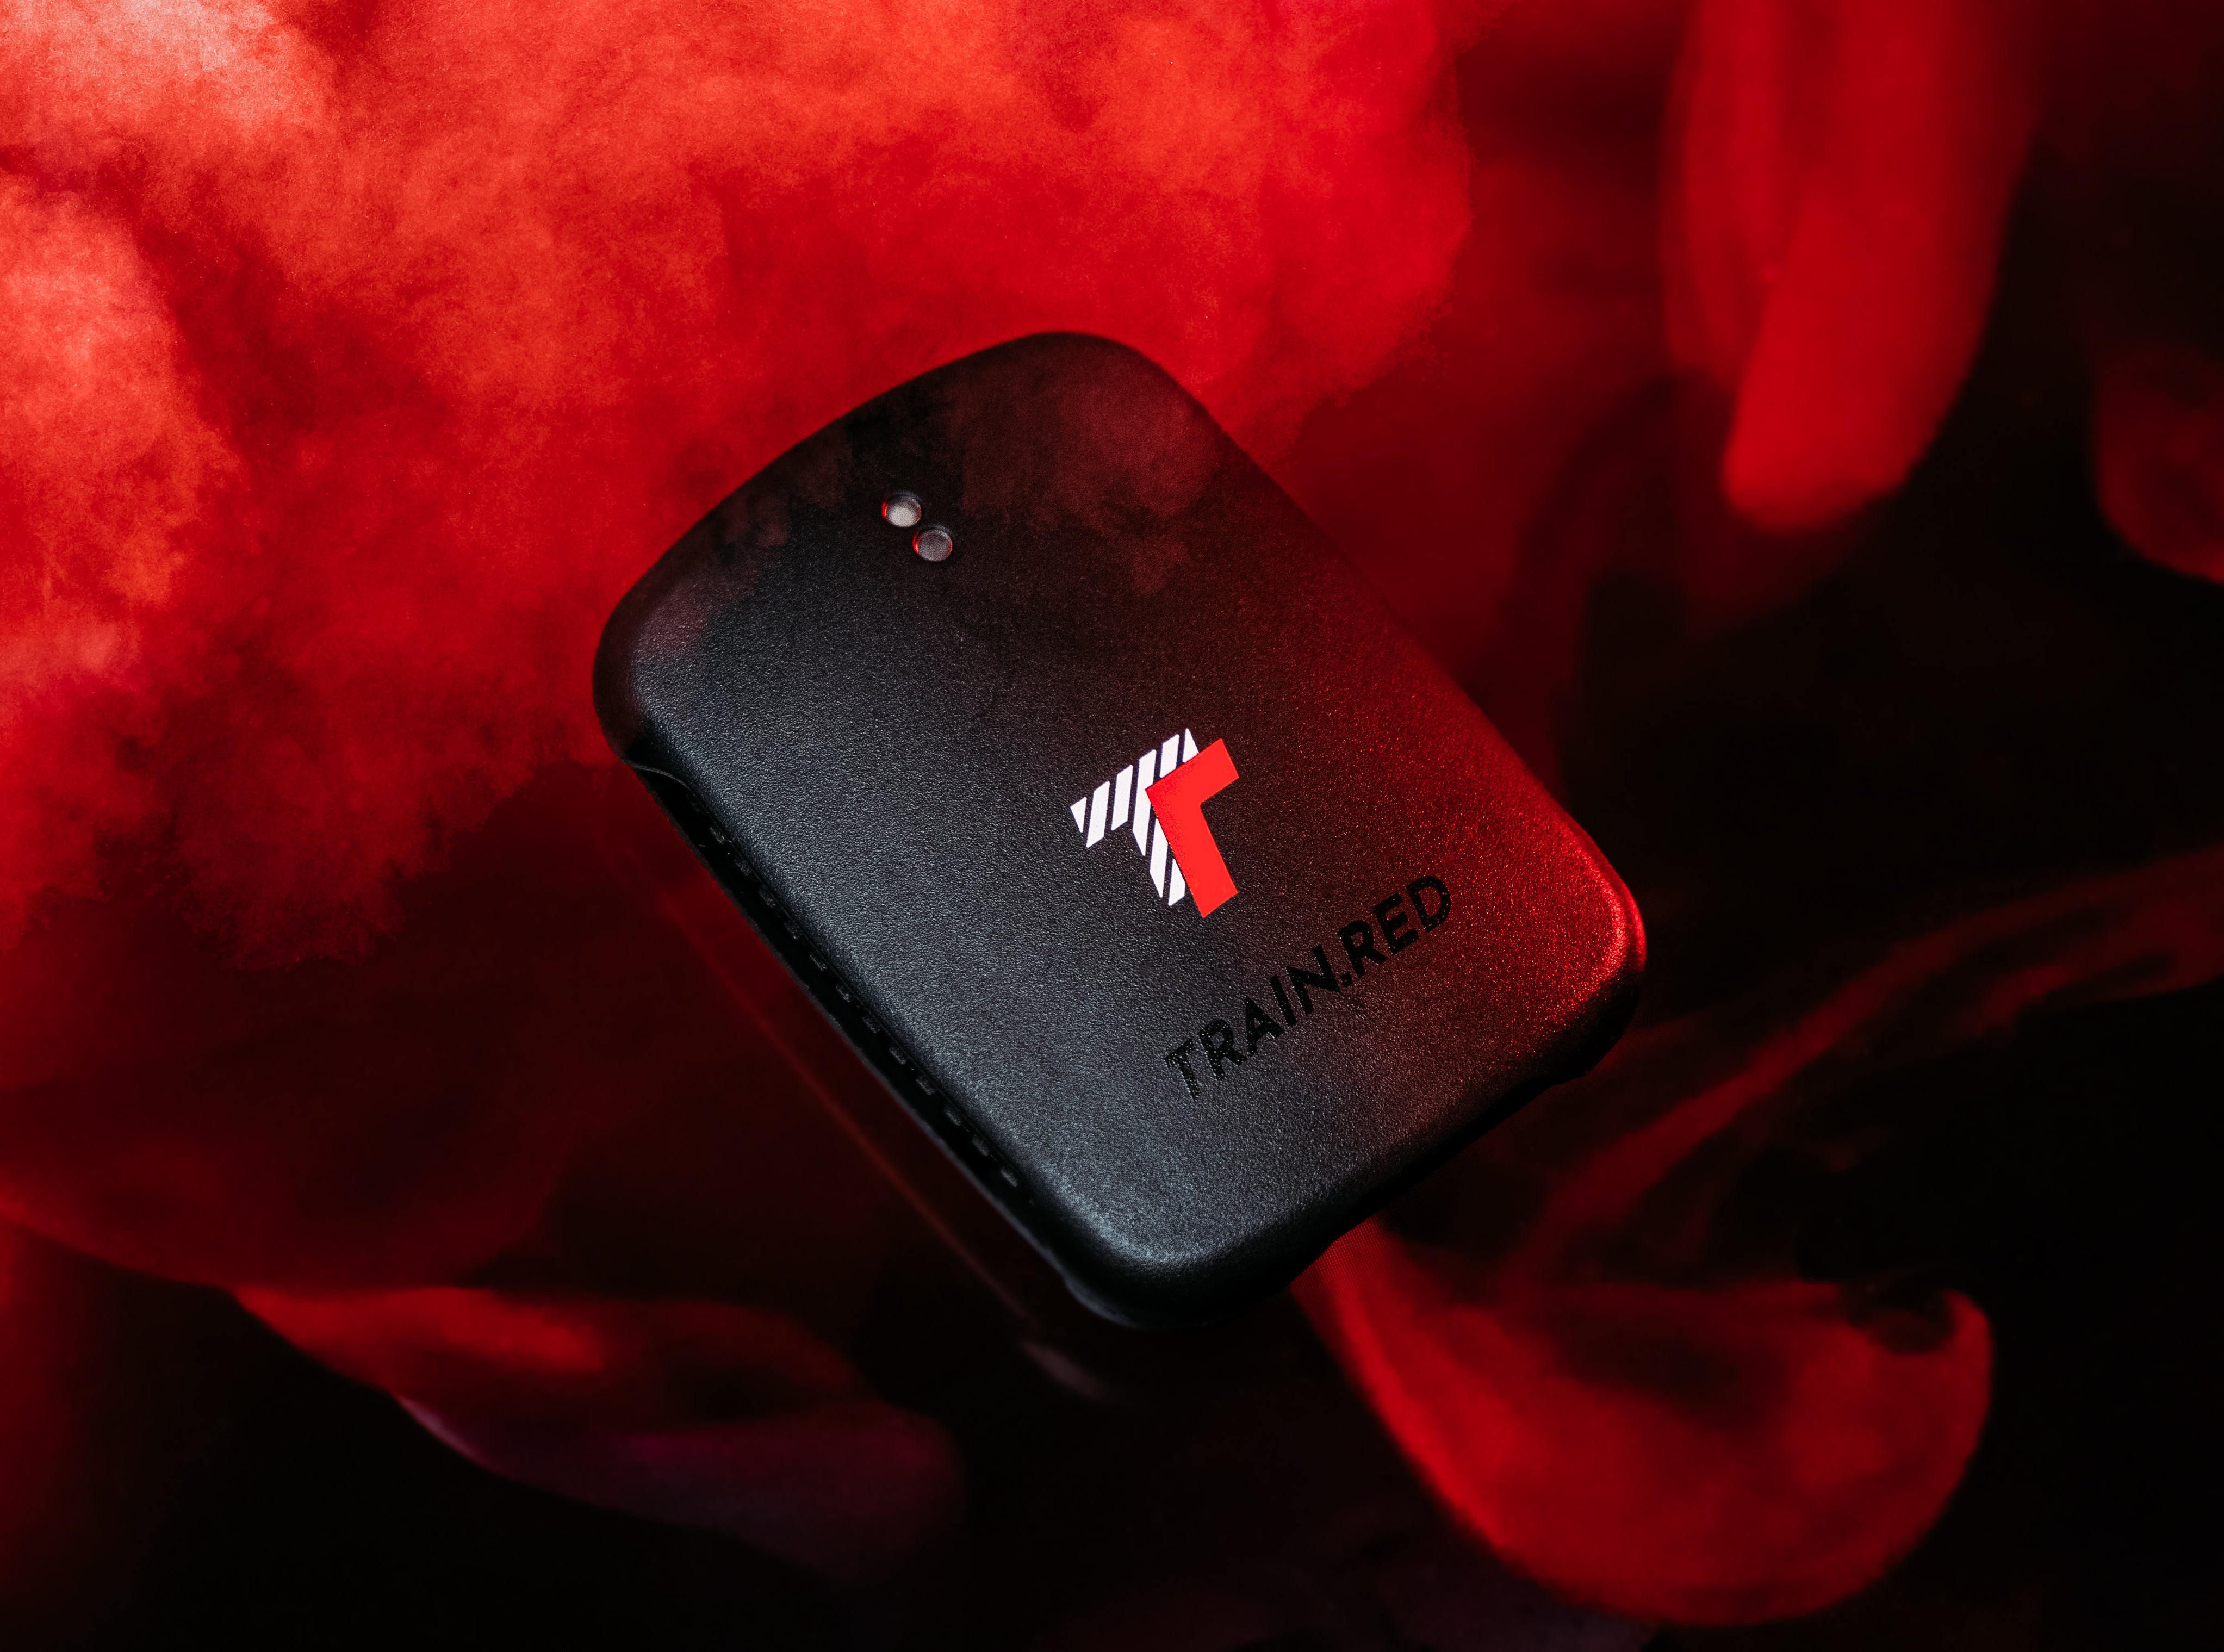
- The Train.Red PLUS
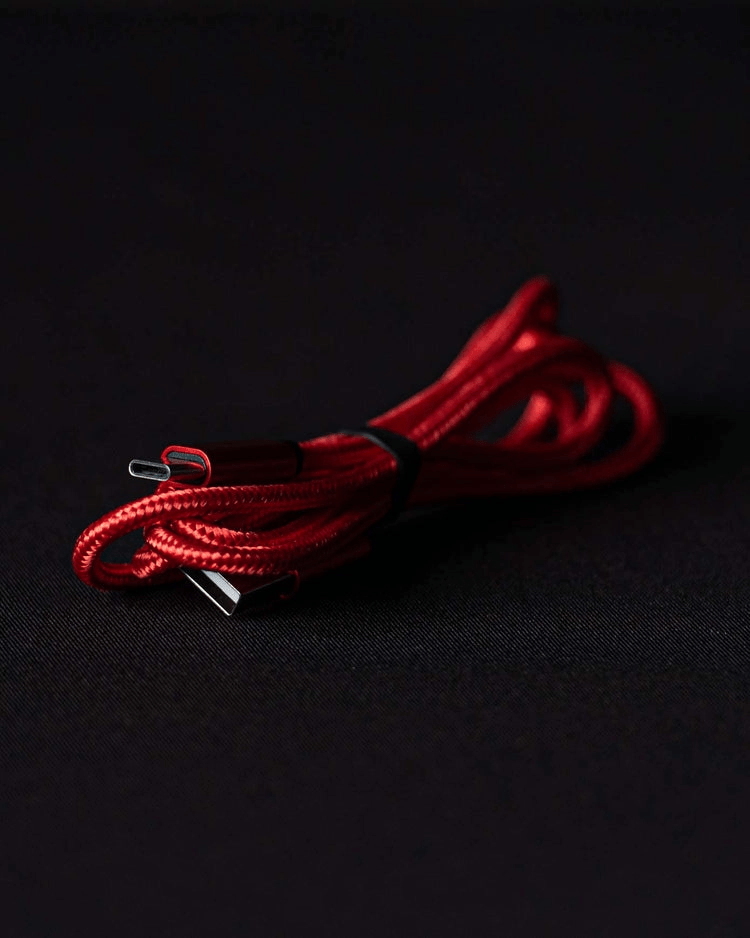
- Charging cable
- Patch Pack (20 patches)
- Strap Pack (S-M-L)
- Durable eva-pouch
You will also need:
Train.Red app (or use one of our connectivities)
2 - CHARGE
- Use the included charging cable
- Insert the charging cable with care
- The green LED is blinking slowly while charging
- The PLUS is fully charged when the green LED stops blinking.
- You can measure up to 6 hours on a full charge.
- A full charge takes up to 2 hours
- The PLUS resets when you plug in the charging cable.
3 - GET STARTED
- Make sure you're charged (you, and your battery).
- Press the start button to activate the sensor.
- After the start sequence, the green LED is on and the blue LED is blinking. This indicates that the sensor is ready to connect.
- The green LED blinks when the sensor is connected to software (e.g. the APP), and the solid blue or purple LED shows it is connected via Bluetooth or ANT+.
- When you are not connecting the sensor to the APP, it shall shut down automatically.
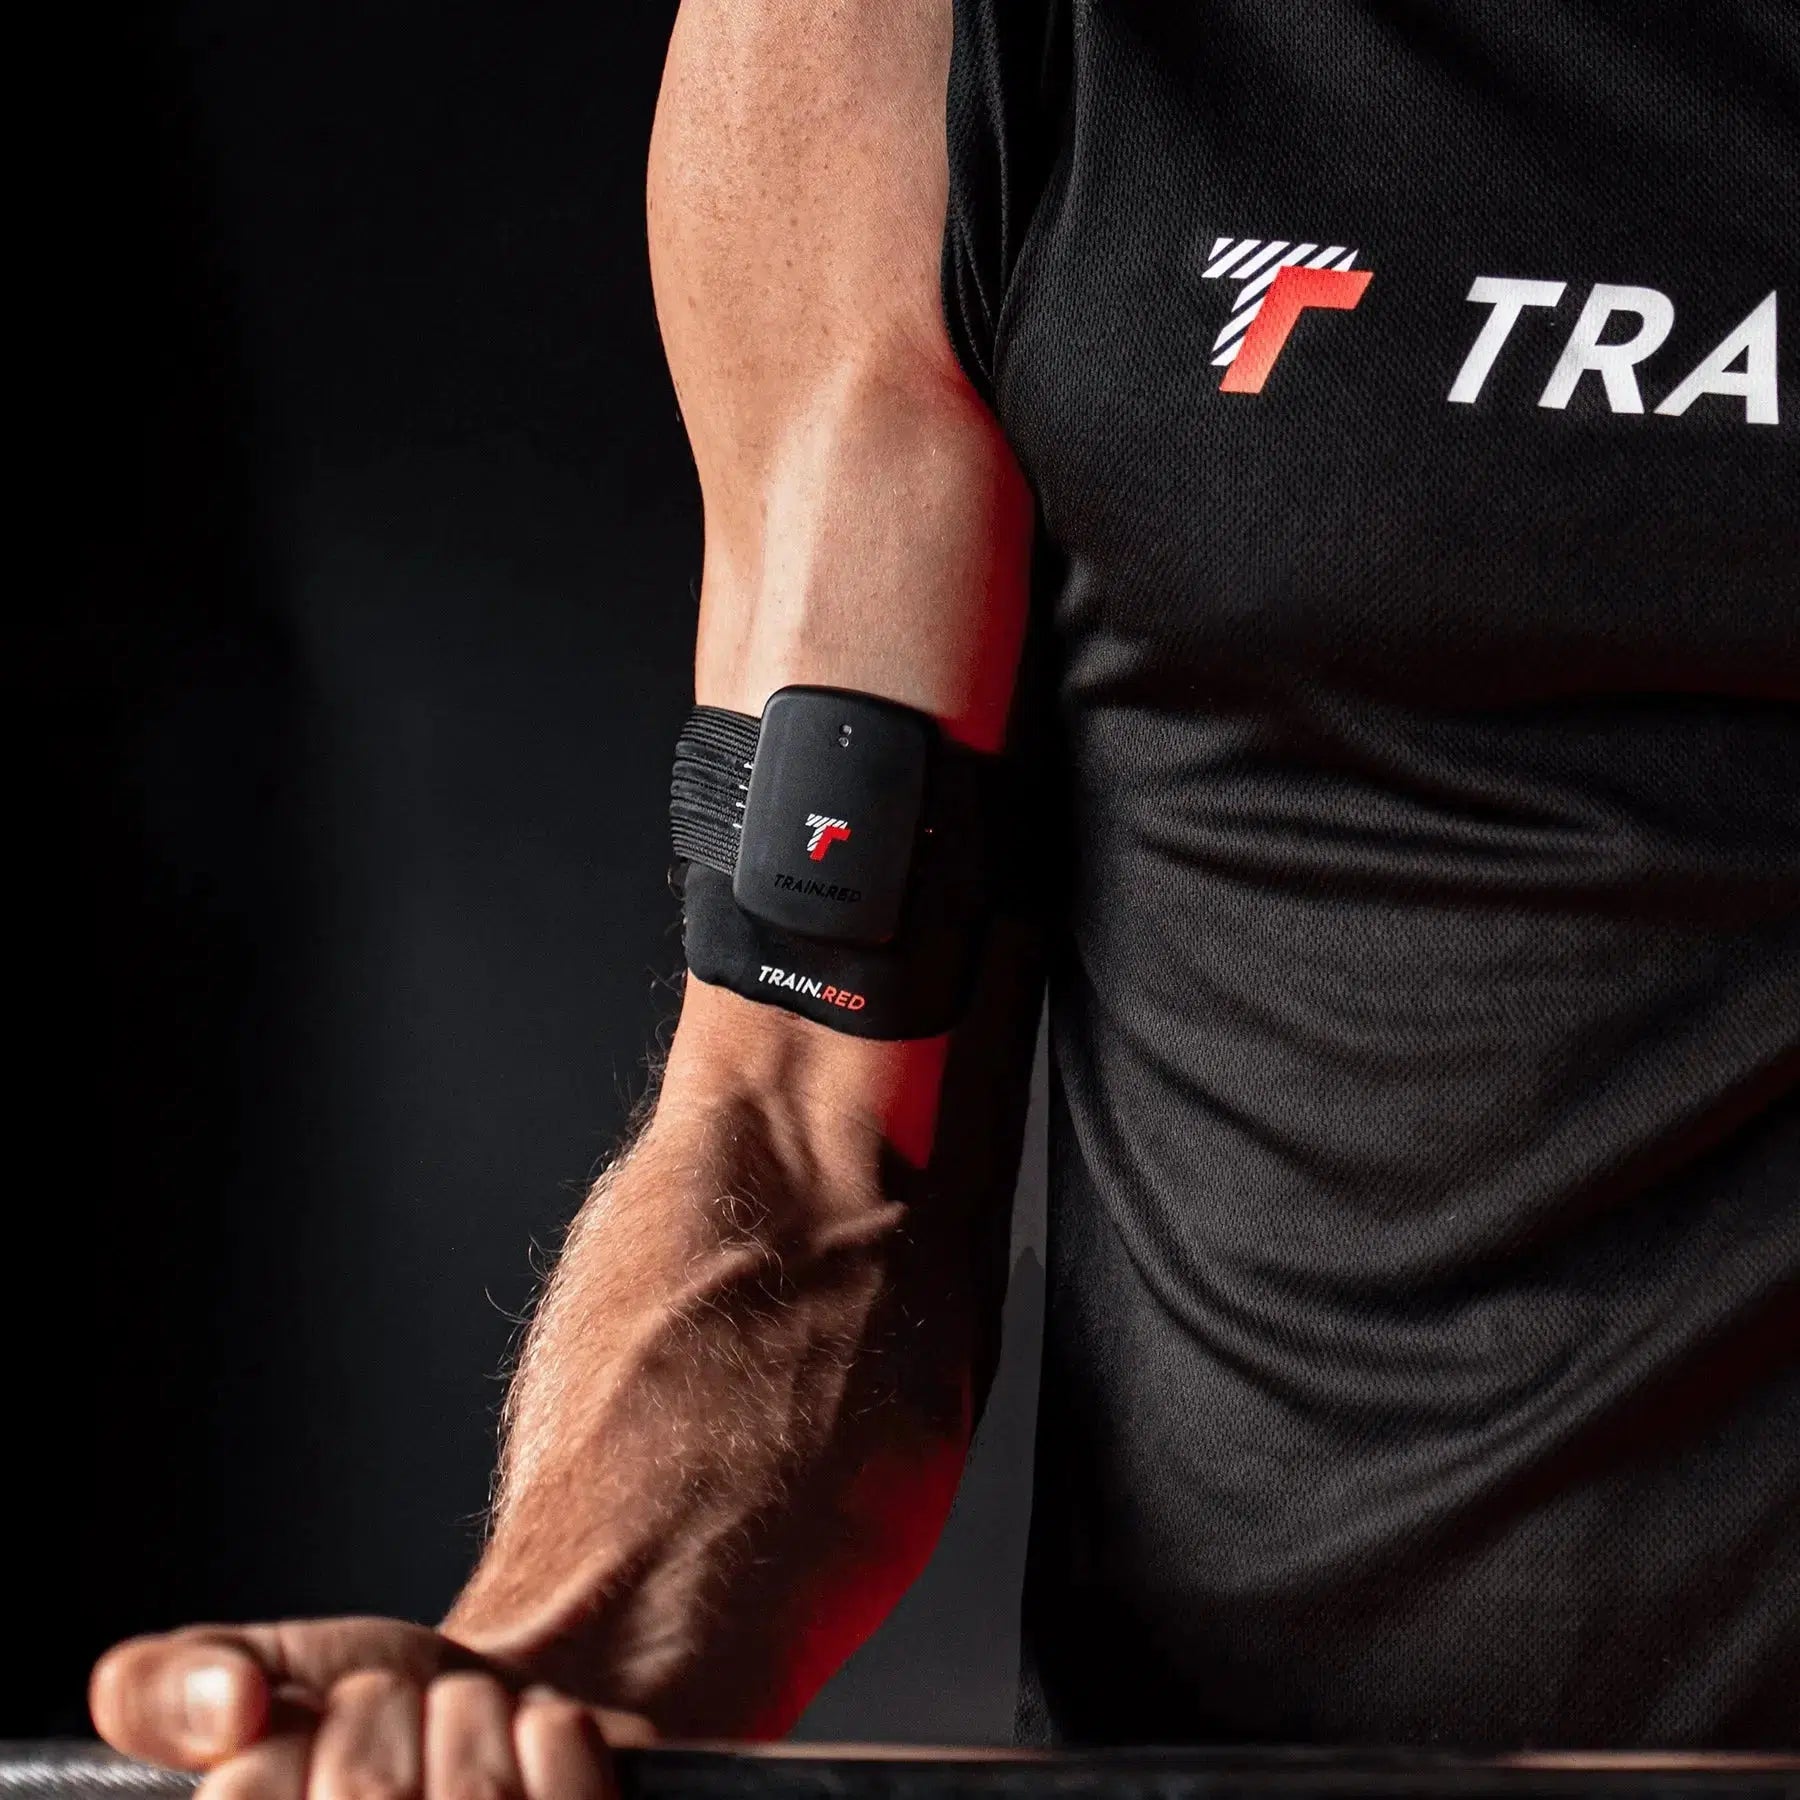
4 - PLACE THE SENSOR
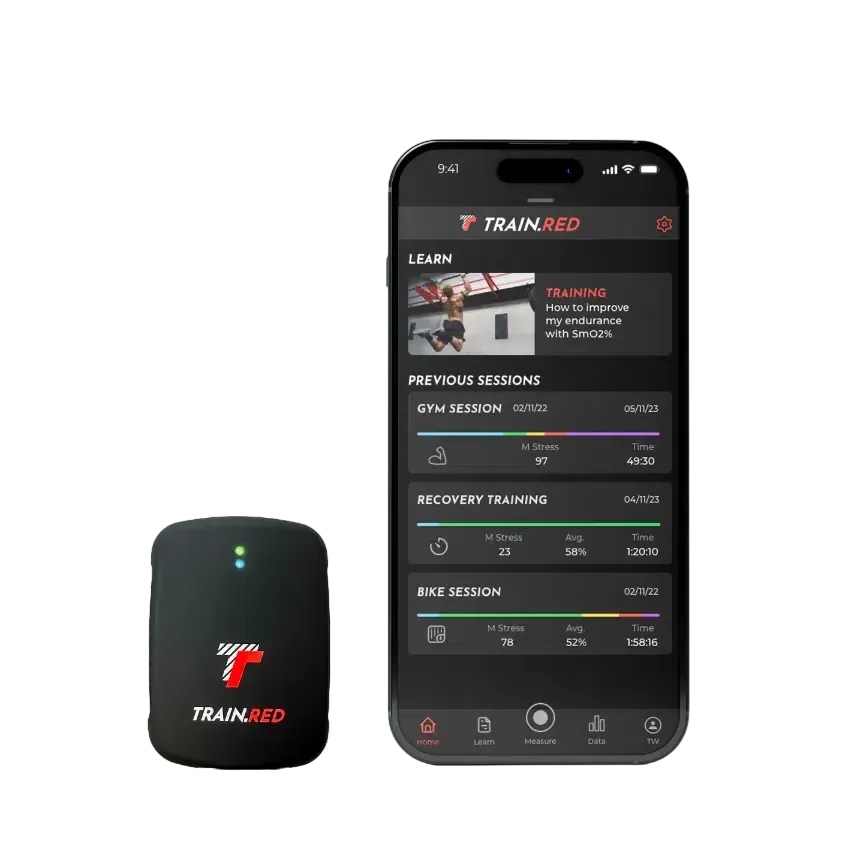
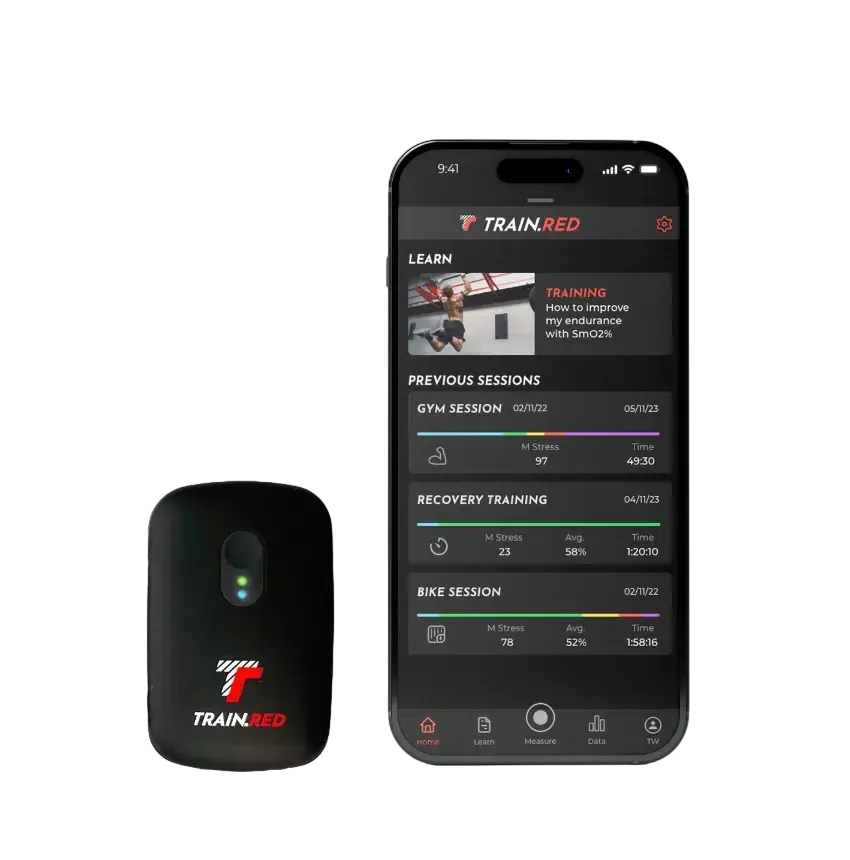
The FYER can be worn everywhere on your body and the app currently saves 8 locations. Select and connect your sensor in the 'connect sensor' section of the smartphone app. You can connect up to 4 Fyer's and 1 HR sensor at once.
How to strap the sensor:
- Choose the right strap length
- Position the sensor directly on your skin, and place it on the belly of your muscle for maximal results.
- Pull the strap nice and tight, but do not compress your skin.
- OPTIONAL: Standardise placement and protect from ambient light with the Train.Red patch (*do not use if you're allergic to physiotape)
- Check your sensor placement with our position check in the app
Note: never place your sensor over a tattooed area
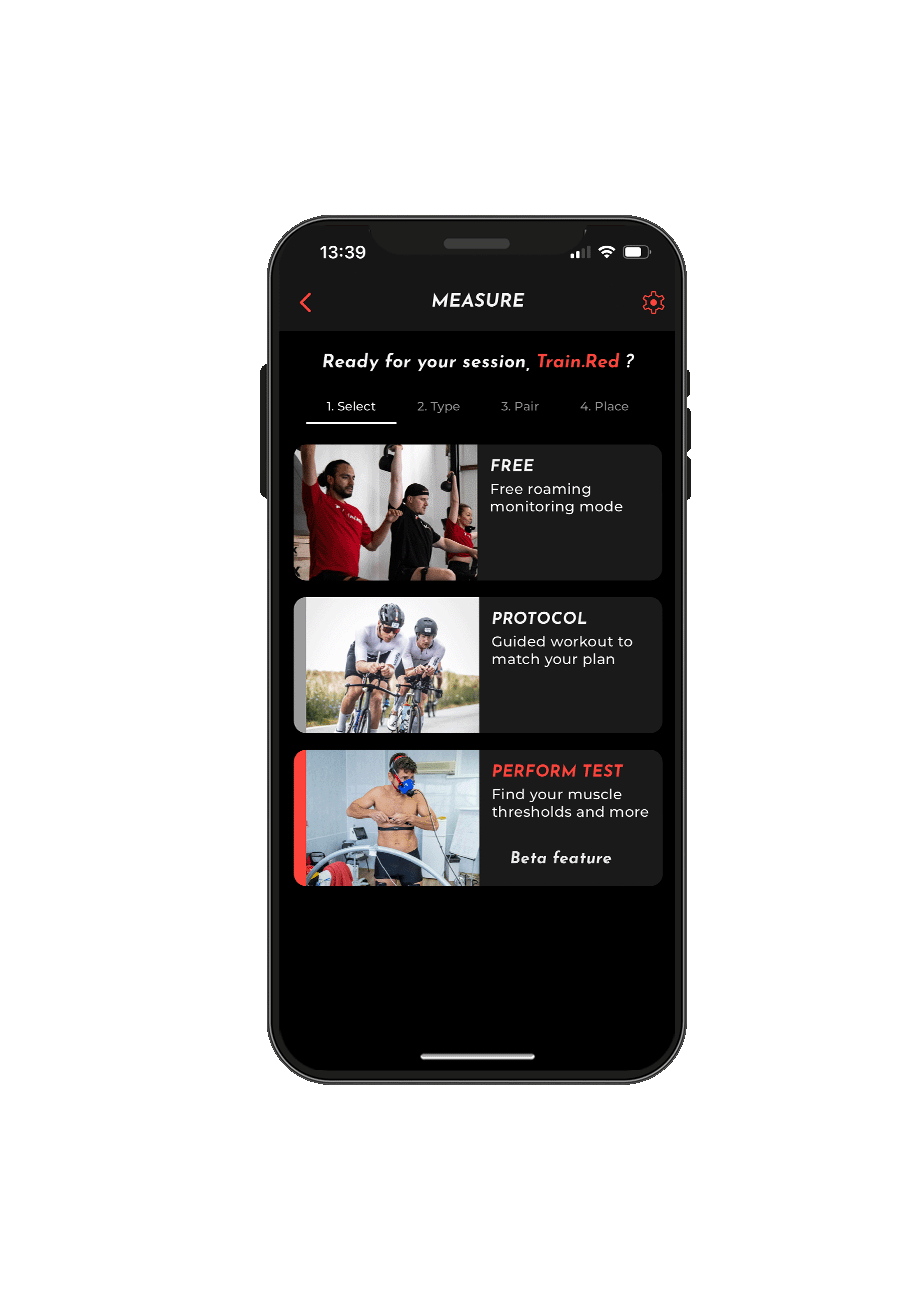
5 - MEASURE
- Select your type of sport and workout
- Make sure you selected and positioned the desired sensors
- Start measurement via the play button
- Wait until sensors are connected
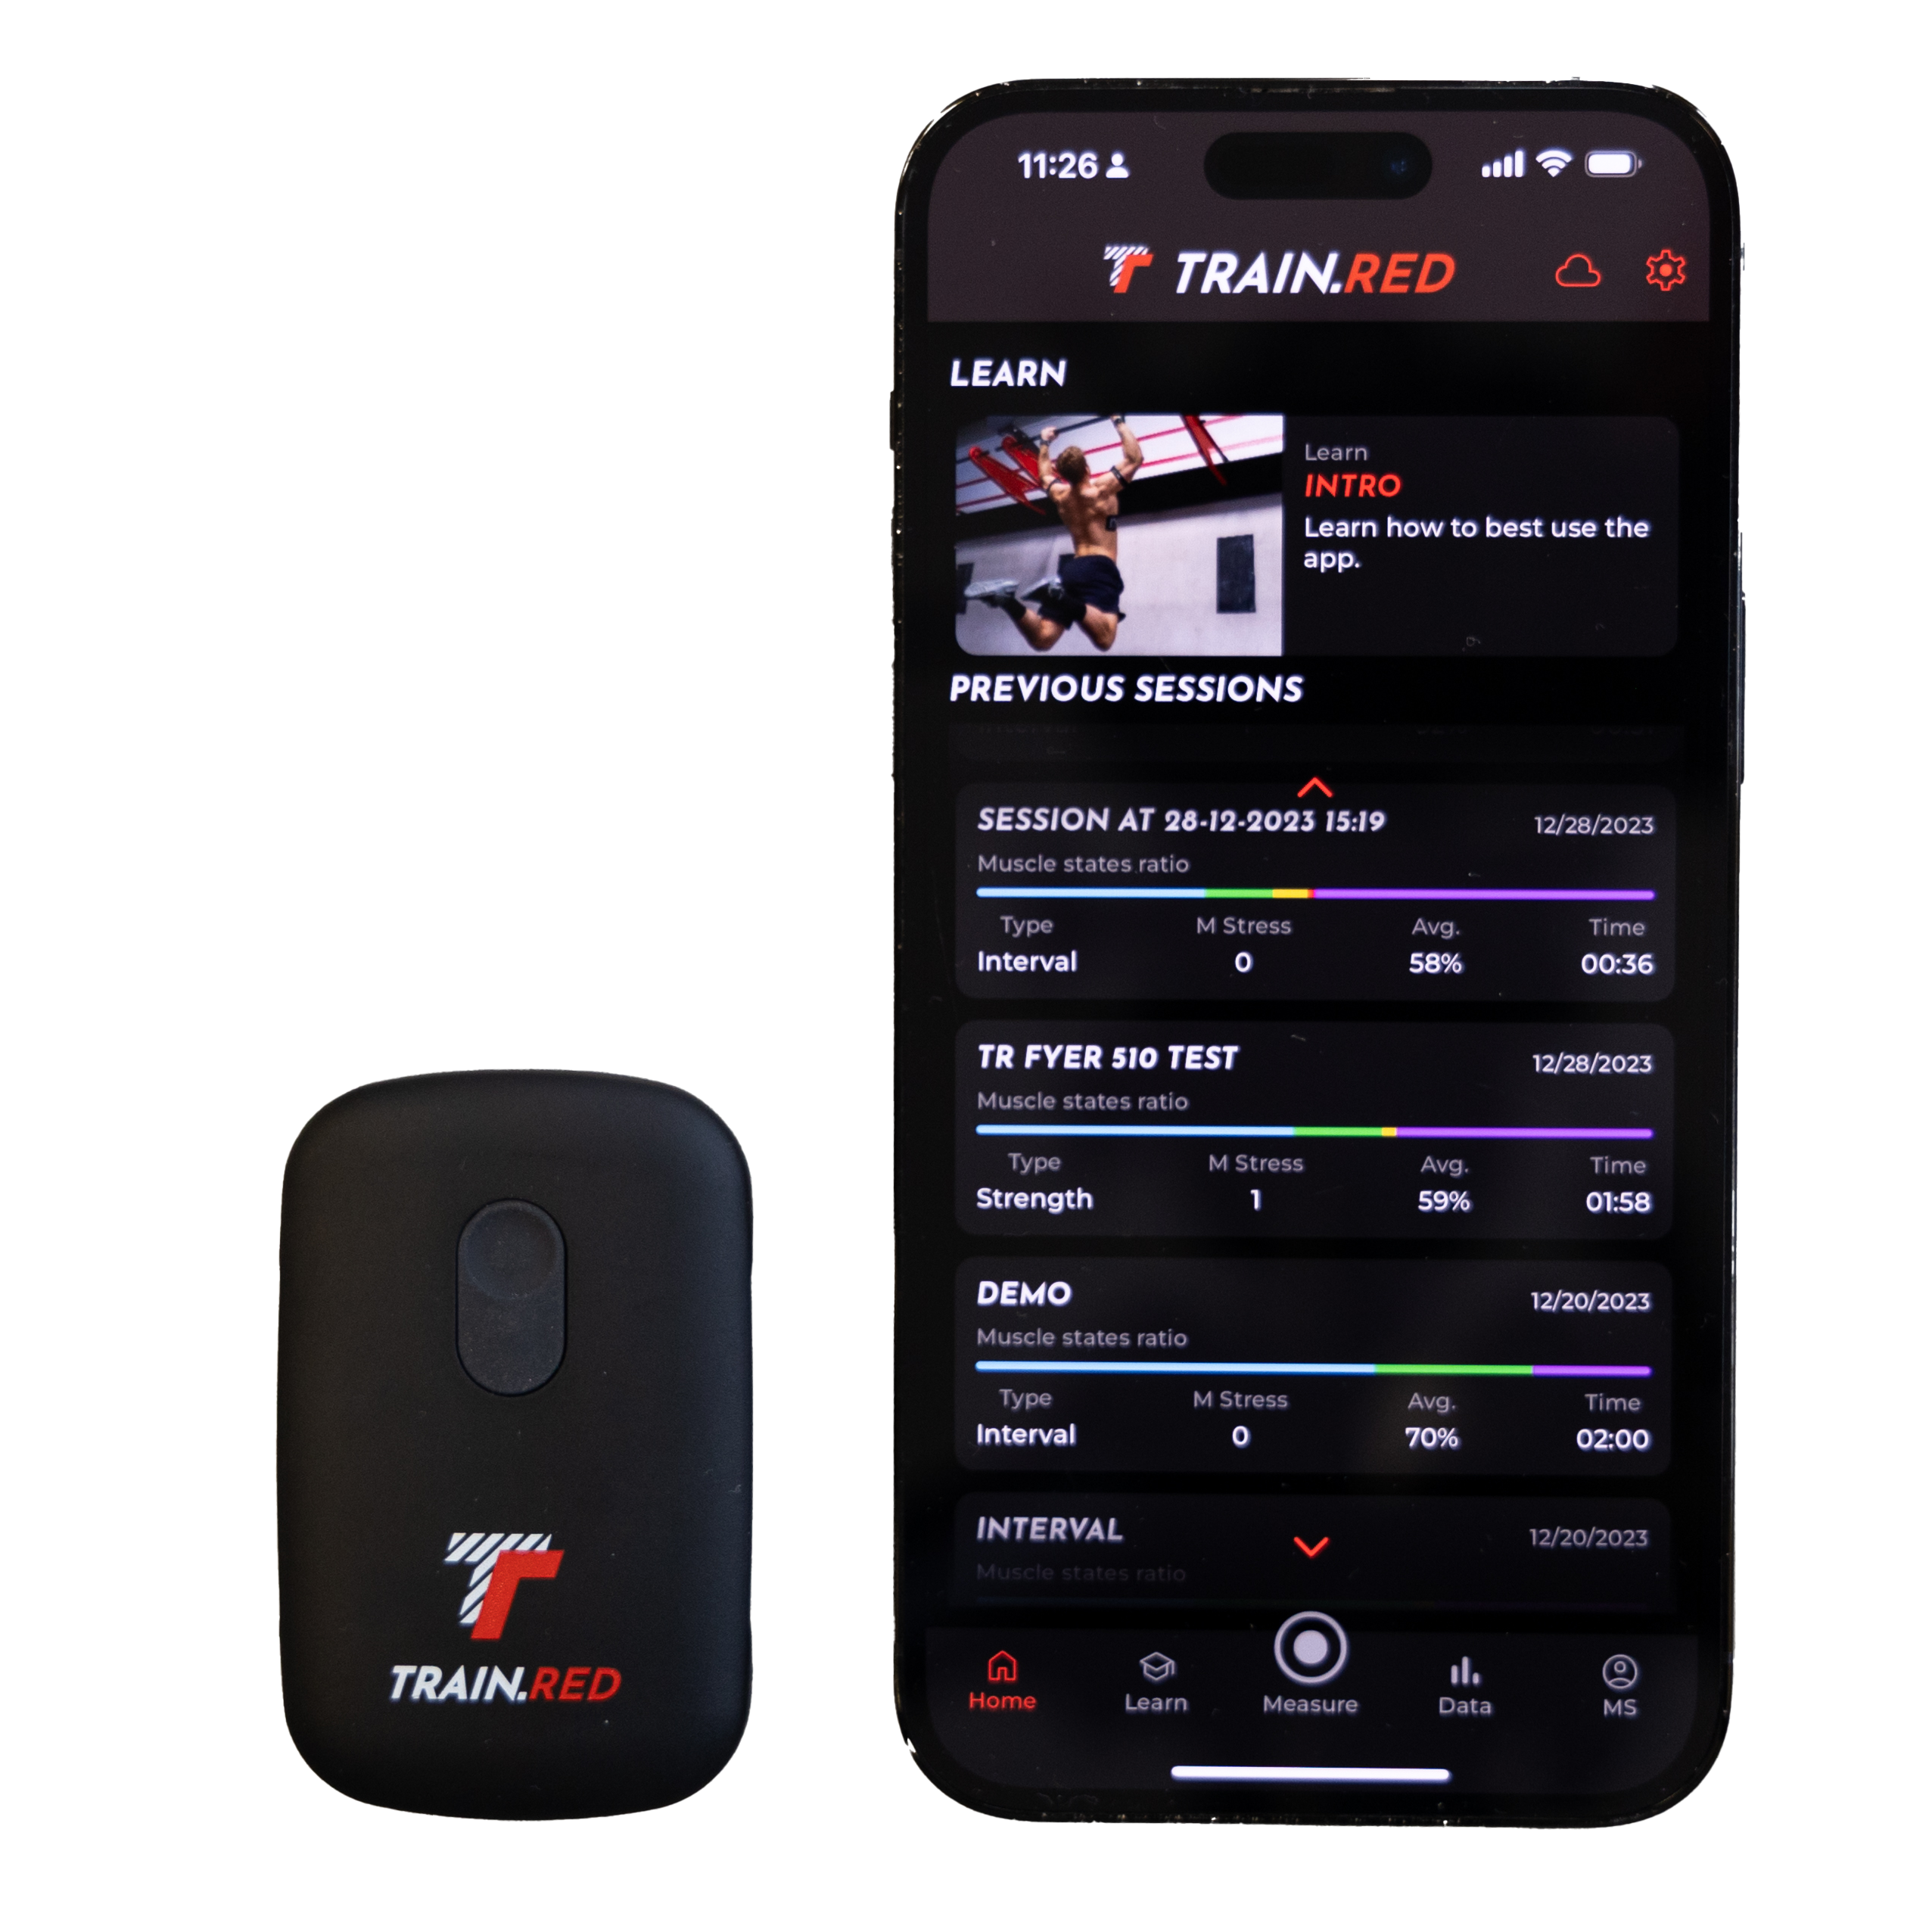
- App switches to the live-measurement overview (an overview of data and features)
- By tapping the feature, the user can enlarge the desired feature.
- Go and be ahead
- Press the stop button if you want to stop recording
- The app shows a quick summary of your training
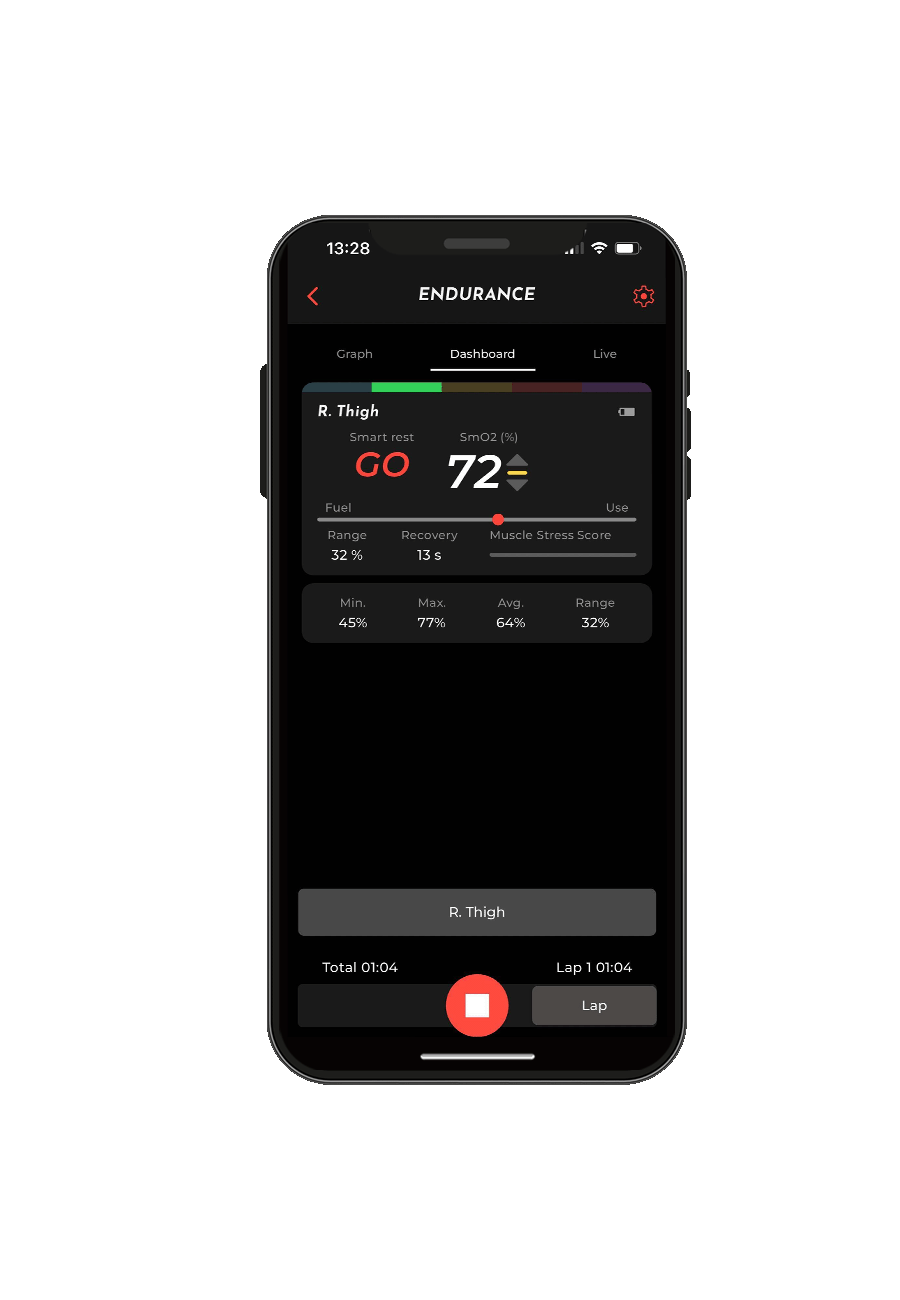
6 - USE DATA
Currently, we are still working on some of the desired features. For now, you can view a summary of each training via the app. If you want to analyze your sessions, you can also export the training to a FIT or CSV file:
- Muscle oxygen data
- Muscle states
- TSI% (percentage of available oxygen in your muscles)
- Oxy and deoxyhemoglobin changes
- HbDiff (difference between oxy and deOxy hemoglobin)
- Total hemoglobin
And some extra information e.g. battery status, temperature data, time stamps and BLE quality.


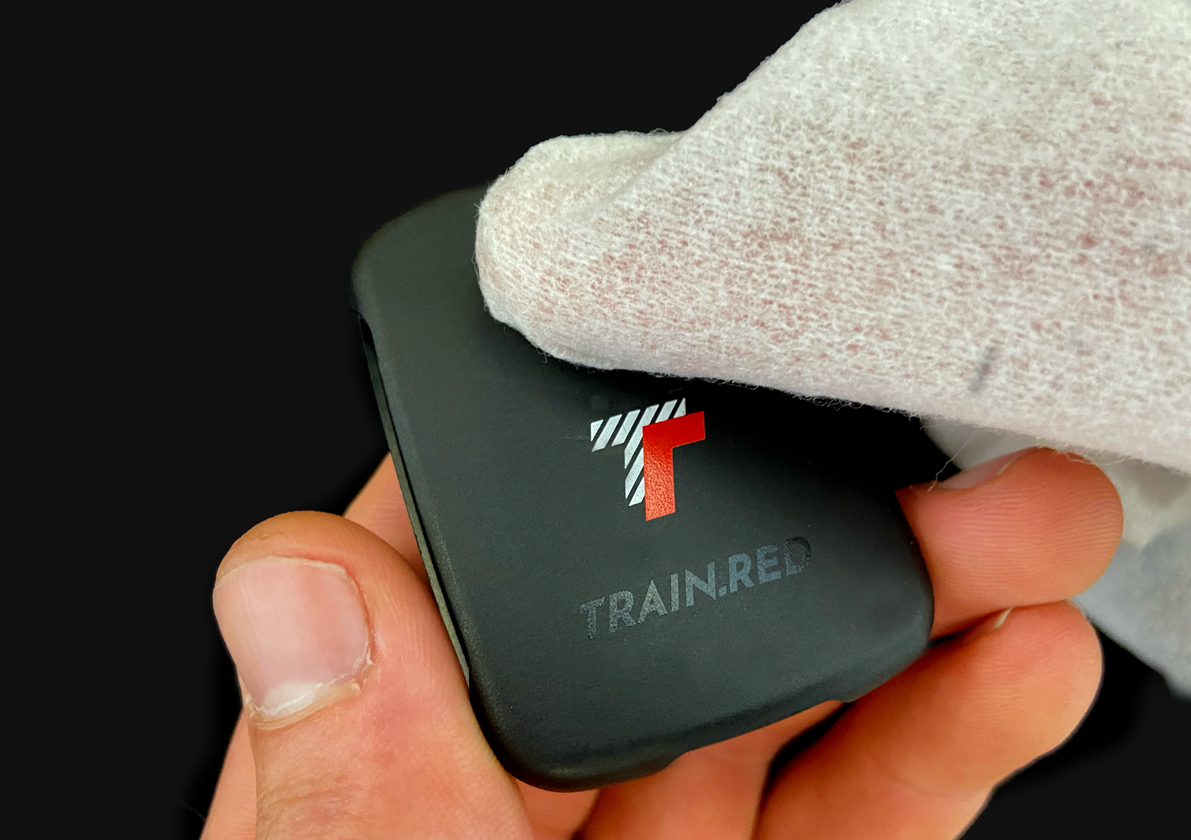
8 - CLEANING
Clean the sensor by using a soft cloth, moistened with a non-aggressive general purpose cleaner (e.g., alcohol). Do not spill any liquid onto the instrument.